- Home
- Wood Fencing
- Tropical Hardwood stackable fences TRADITION
Tropical Hardwood stackable fences TRADITION
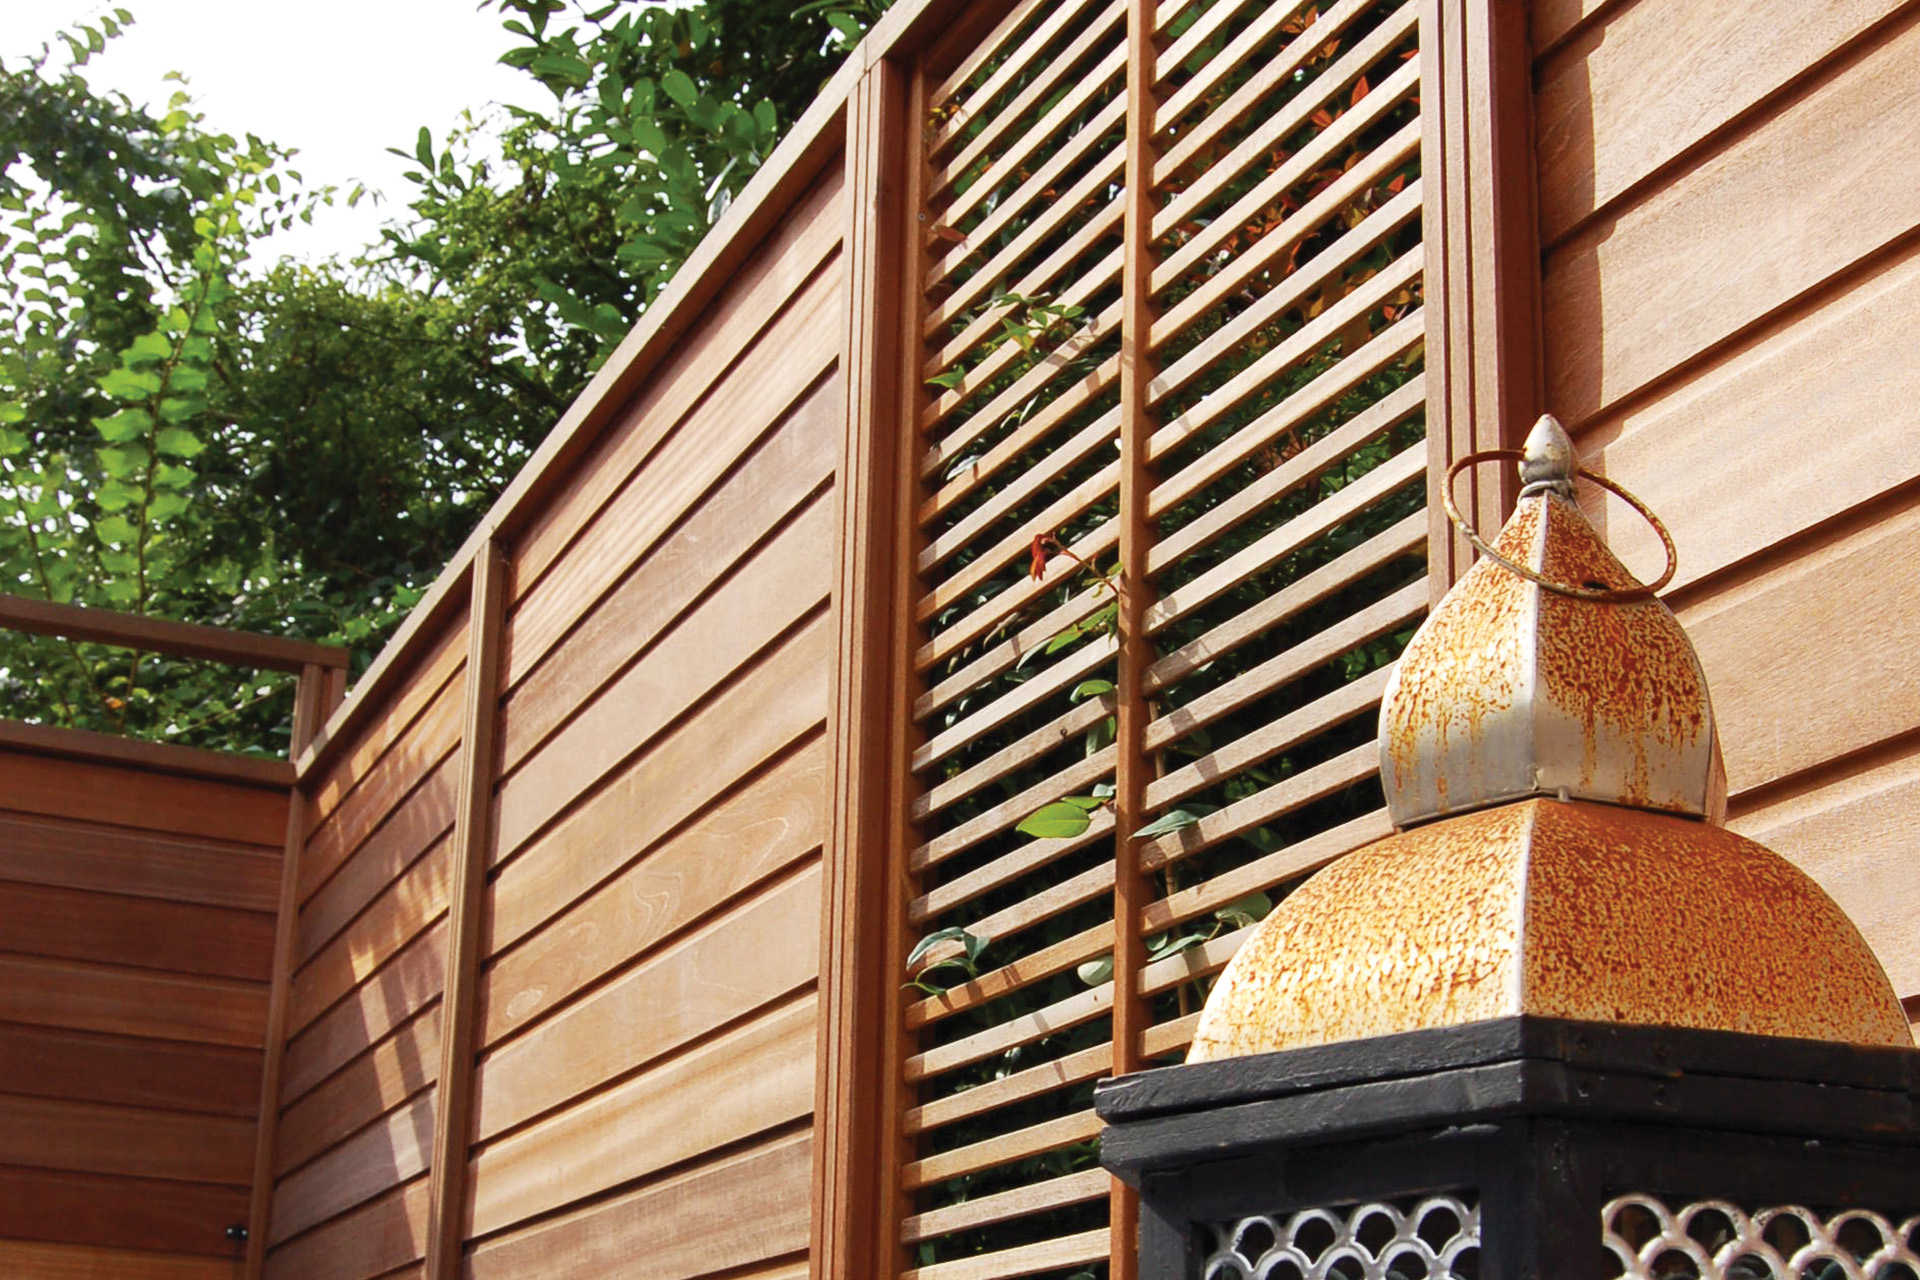
A blackout and robust fence
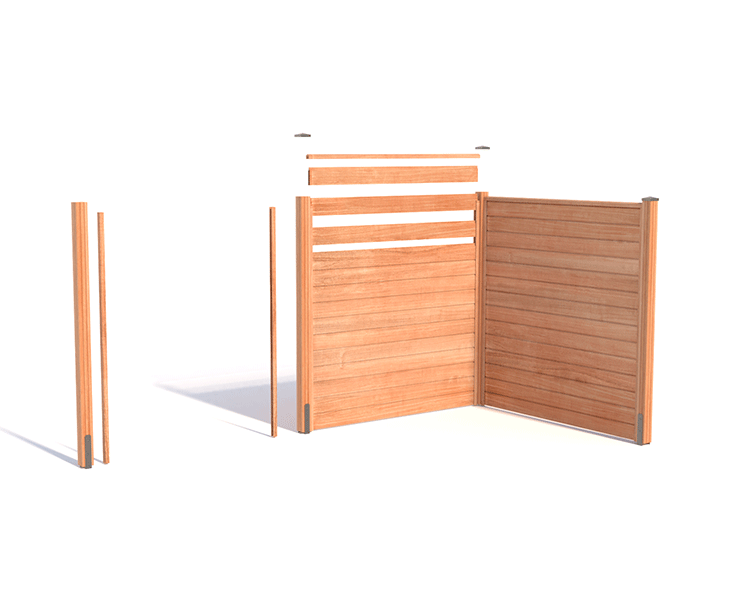
- Modular and easy to install
- Cuttable length - Variable height
- Naturally rot-proof exotic wood
- 2 lames de remplissage au choix
- 2 filler boards of your choice
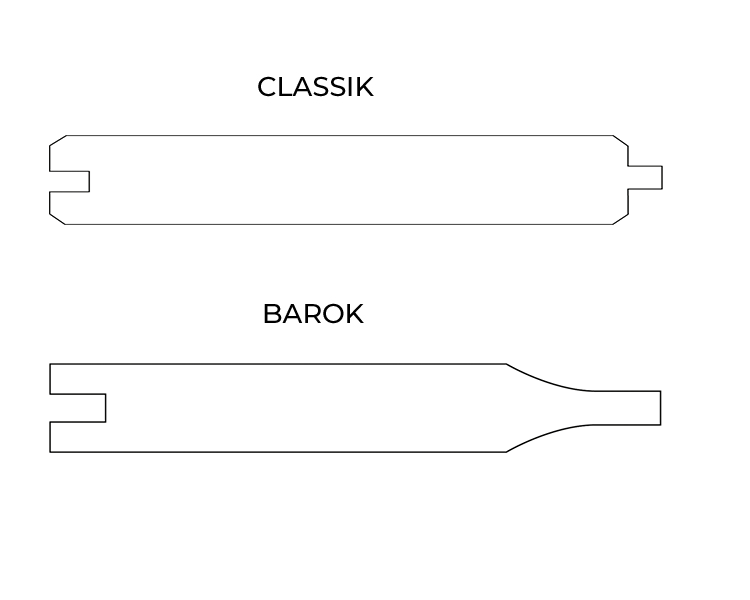
- Classic : 21x145 mm P210
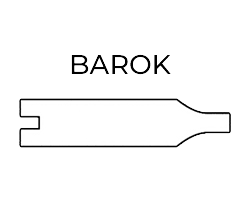
- Barok : 21x145mm P230
Interlocking fence concept TRADITION
A long-lasting and concealing fence
Choose a filler board
Barok or Classik
Choose a Trellis design
Chambord, Chantilly, Chinon, Louvre, Villandry, 90x180 cm ; 180x180 cm
Create your combination
with our myfenceplanner.com configurator

Examples of combinations
to be made with myfenceplanner.com
-
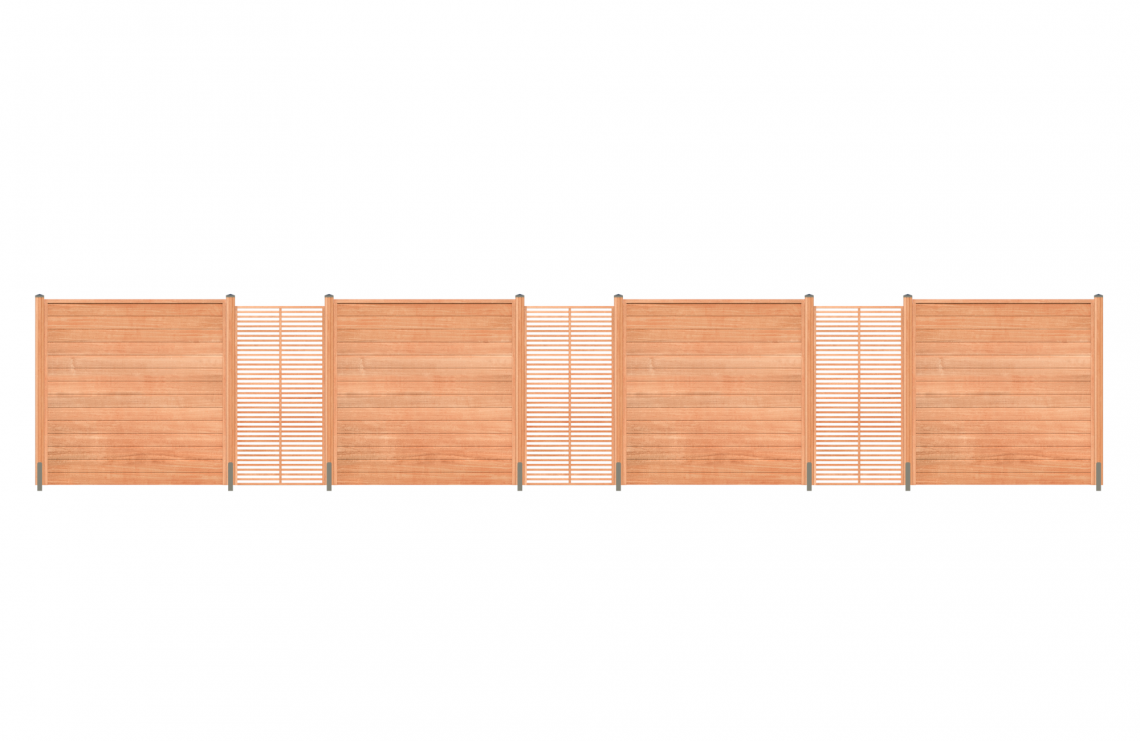 Mix Barok Panels with Chinon Trellis
 -
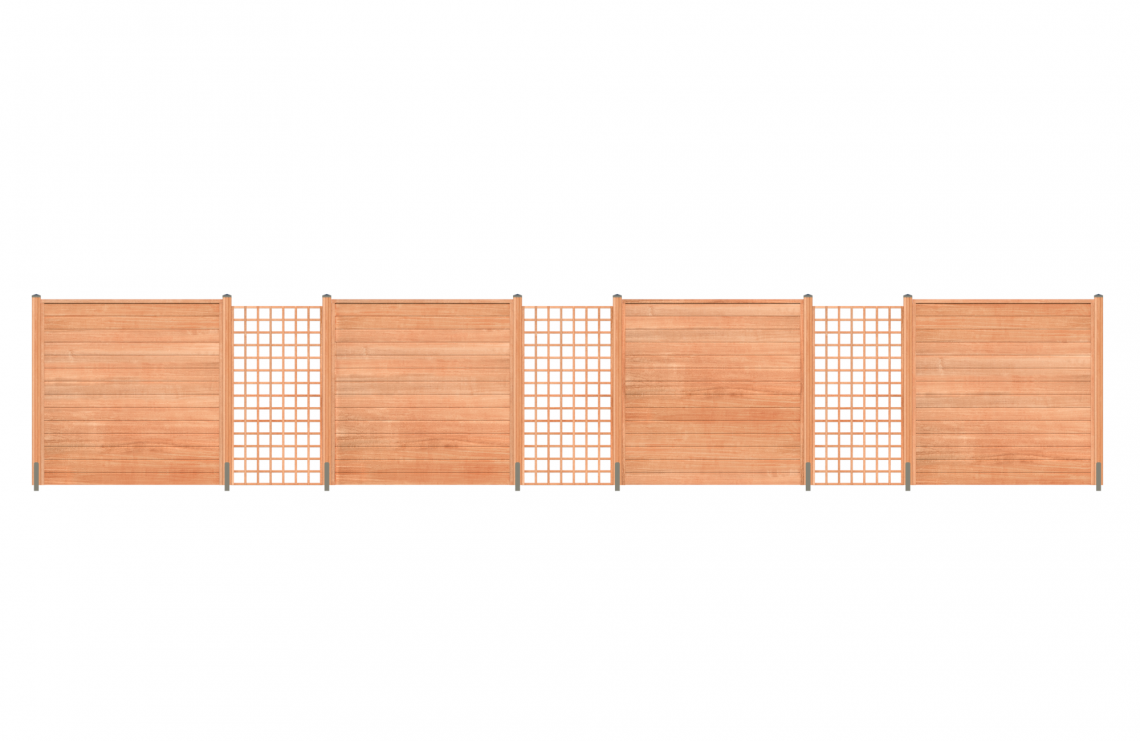 Mix Barok Panels with Chambord Trellis
 -
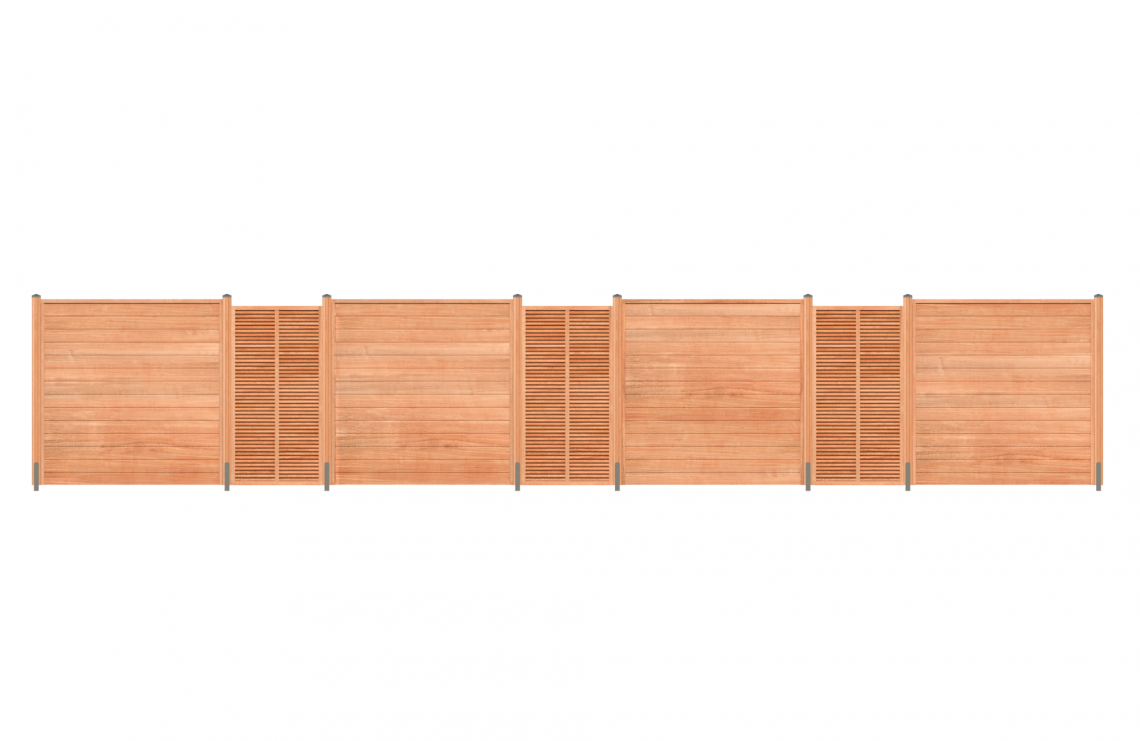 Mix Classik panels with Louvre Trellis
 -
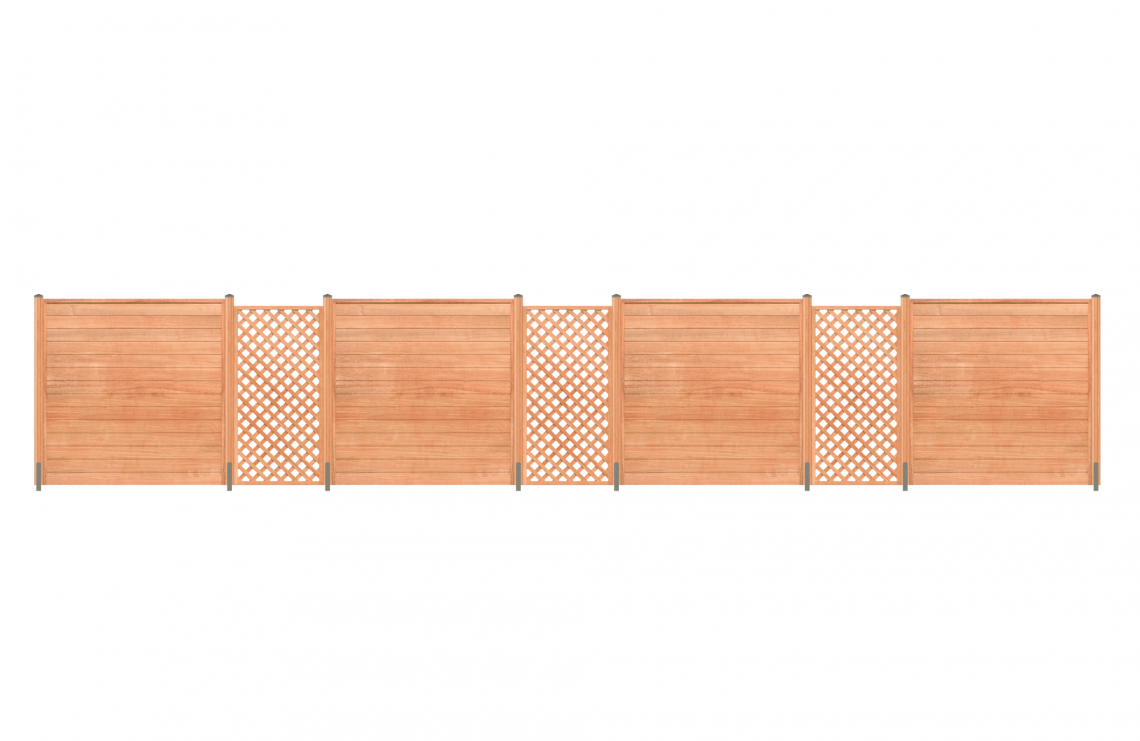 Mix Classik panel with Chantilly Trellis
Characteristics of Barok and Classik boards (Bangkirai)
Configure your TRADITION interlocking fence
Go to our 3D configurator myfenceplanner.com to create your fence project and find out your budget immediately.
Step 1: Determine the length of your project and the number of corners.
Step 2: Choose a panel from our collections and start drawing
Step 3: Your budget is calculated automatically
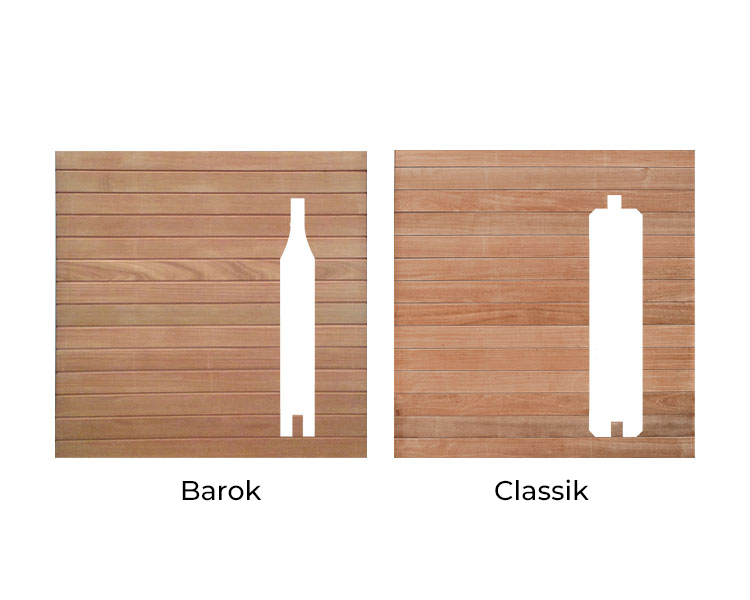
2 filler boards of your choice
2 board profiles are available: Barok or Classik to obtain a more or less pronounced relief.
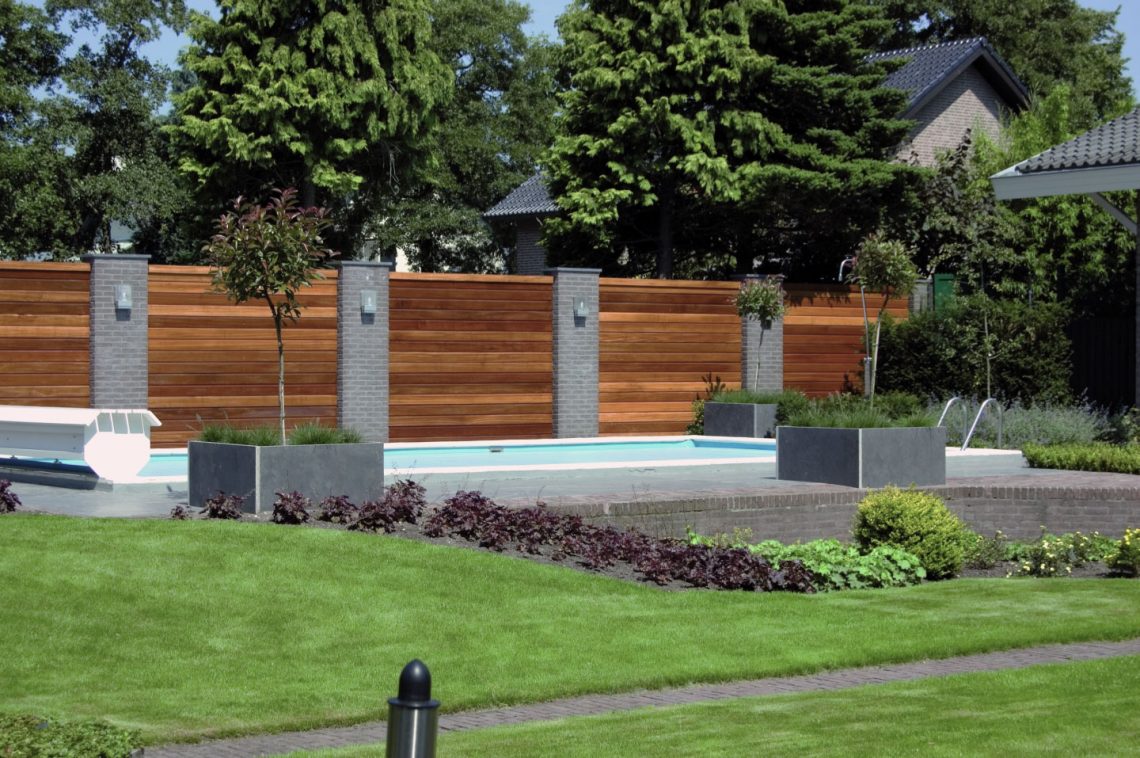
Whether it is a simple blackout panel or a decorative screen, this system offers endless possibilities.
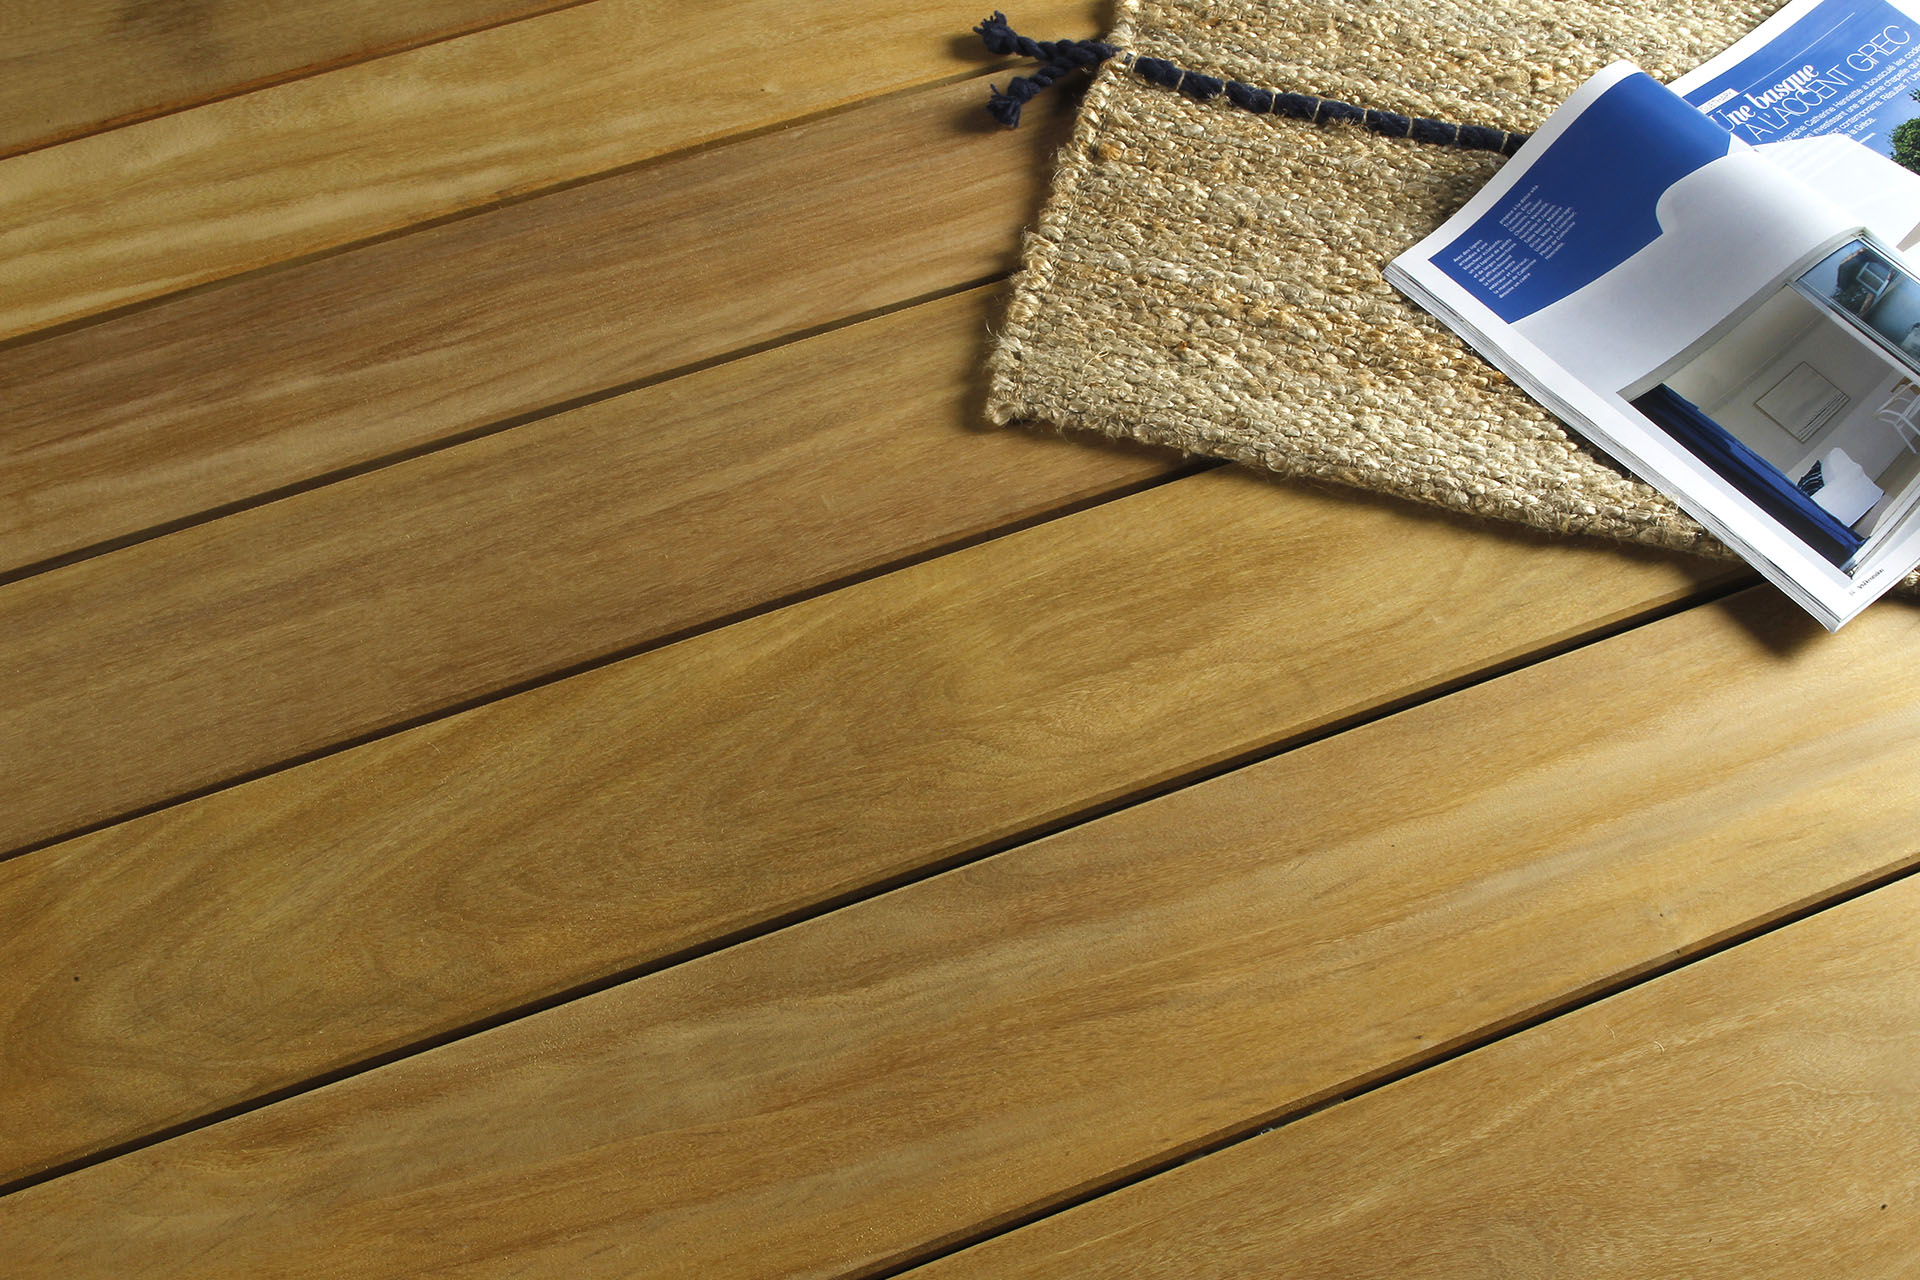
Bangkirai is a species known for its outdoor durability. It guarantees a very long life for the fence, without worrying about attacks from insects and lignivorous fungi.
This fence can also be mixed with all the trellises of our Tradition collection.
Installation of the fence
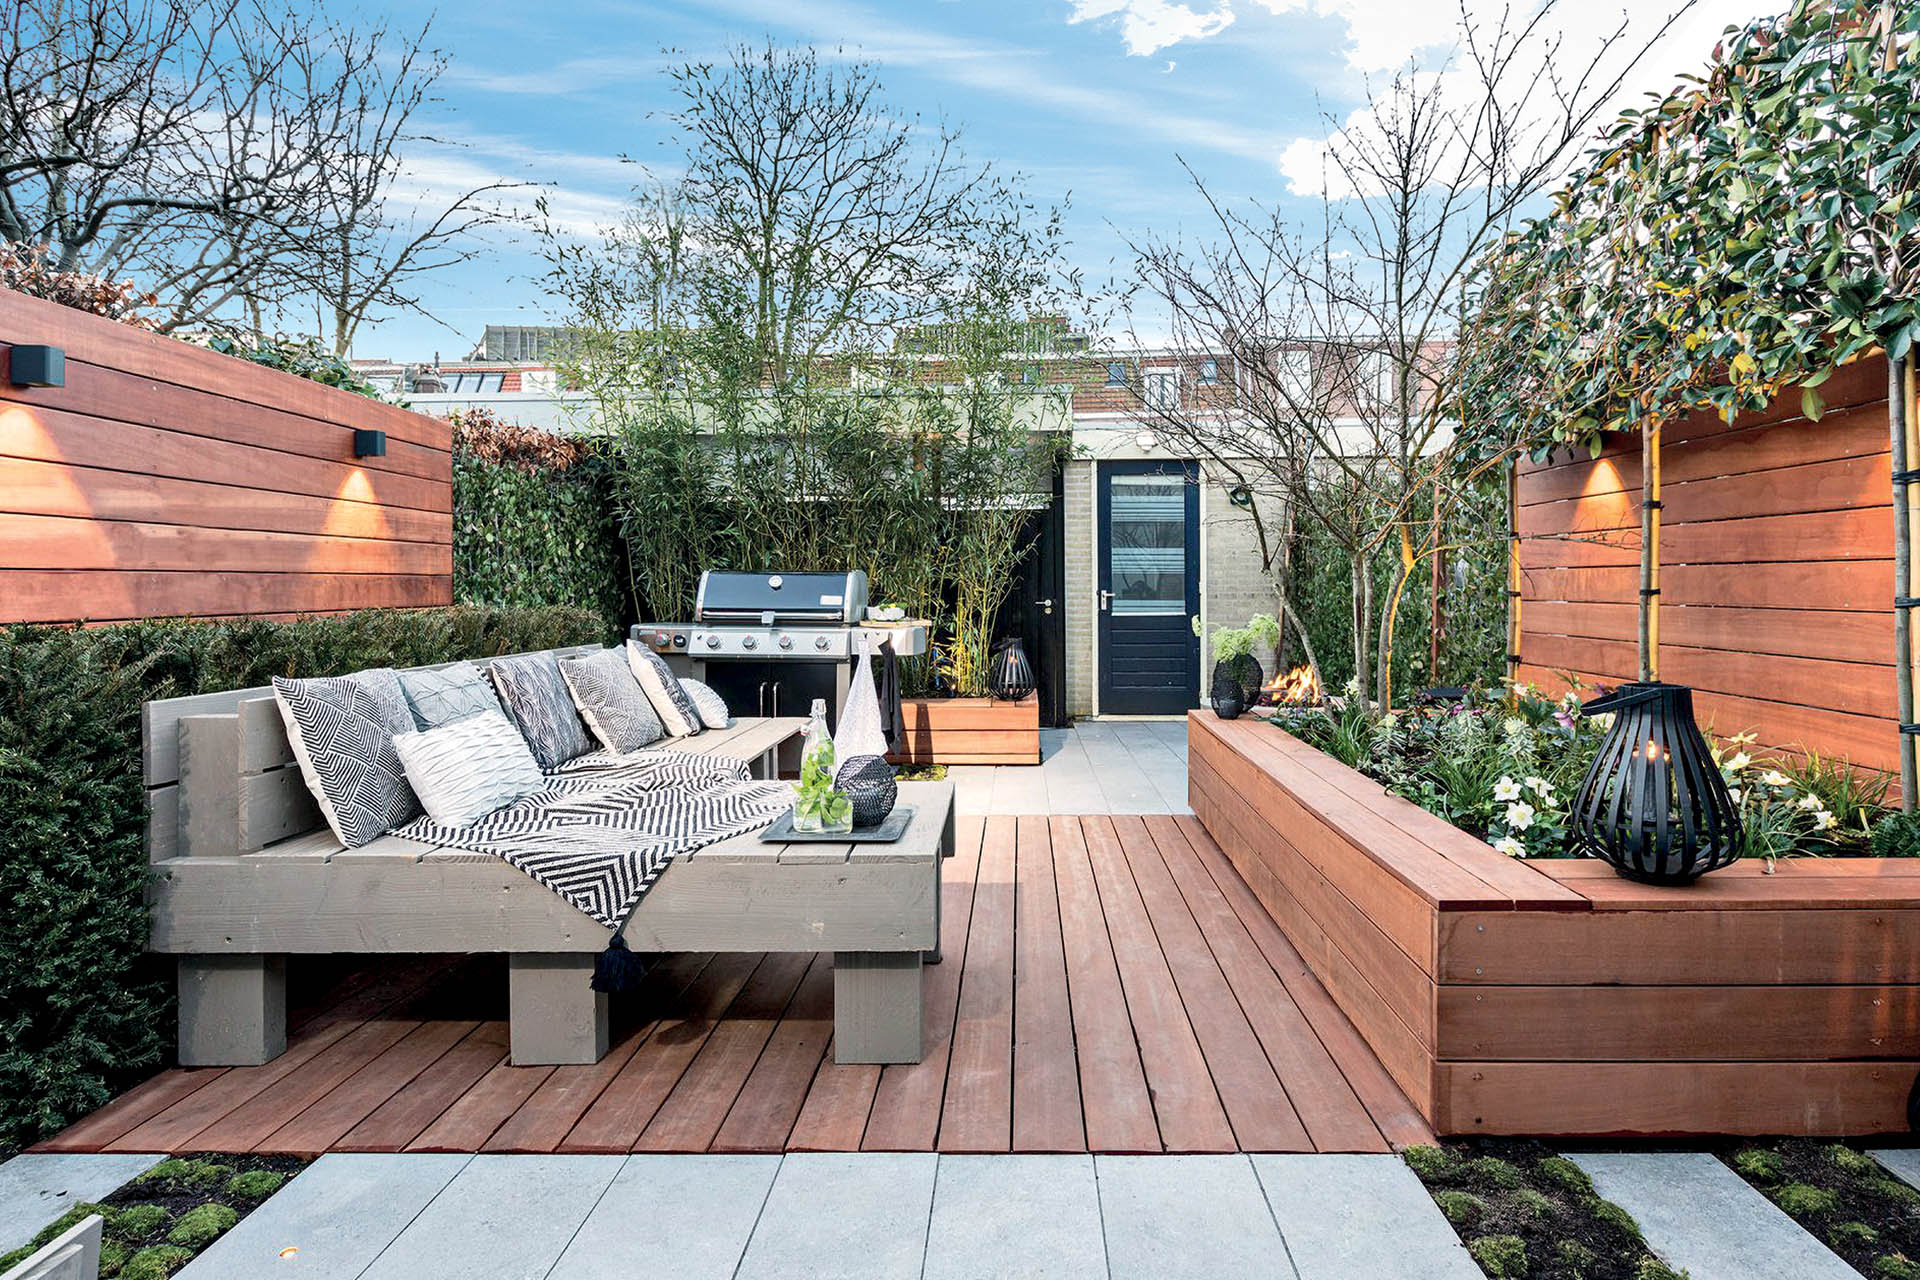
Classik and Barok exotic wood fences are naturally rot-proof. They are unique and bring a natural touch to the garden. The interlocking wooden boards are all different. Wood is a natural product. Its colours and shades are variable. Your fence is unique.
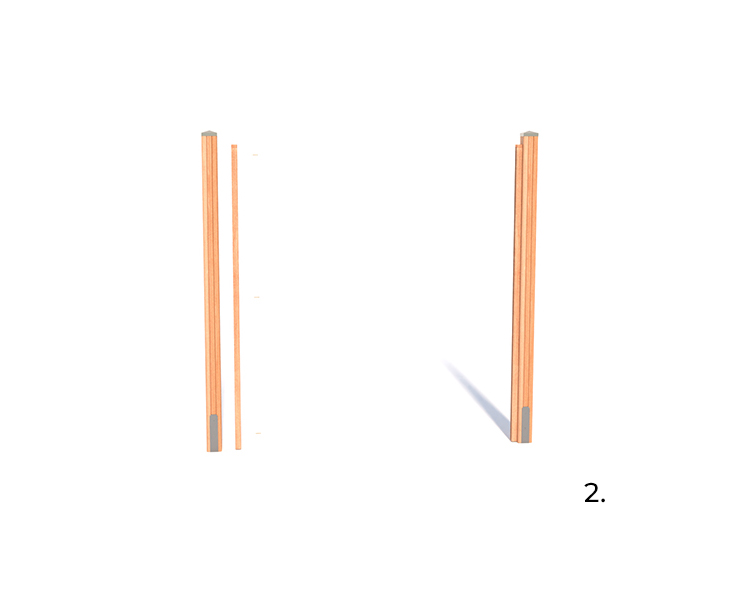
This modular concept is quick and easy to assemble. It is very simple with its 4 components: a post, a board, a vertical rail and a cover.
Before starting work, please read the installation instructions carefully. This fence can be built with adapted height and width (less than 180 cm) to suit your needs.
Preparation :
Measure the length and height of the fence boards. The fence boards are manufactured with a production width of 145 mm. This total width (measured between tongue and groove) will be between 140 and 147 mm depending on the degree of drying of the wood. Standard lengths are 120/150/180 cm. However, the fence boards are sometimes delivered in longer lengths. The cover (protective rail) has a length of 183 cm. It is recommended to check the length of fence boards and cut them to 180 cm.
Step 1: Fastening the posts
The posts must be firmly anchored to the ground. There are two possibilities to choose from:
- Bury the post directly in the ground. 1/3 of the length of the post must be buried in the ground.
- Sealing stainless steel anchors in concrete to fix the post: H plate.
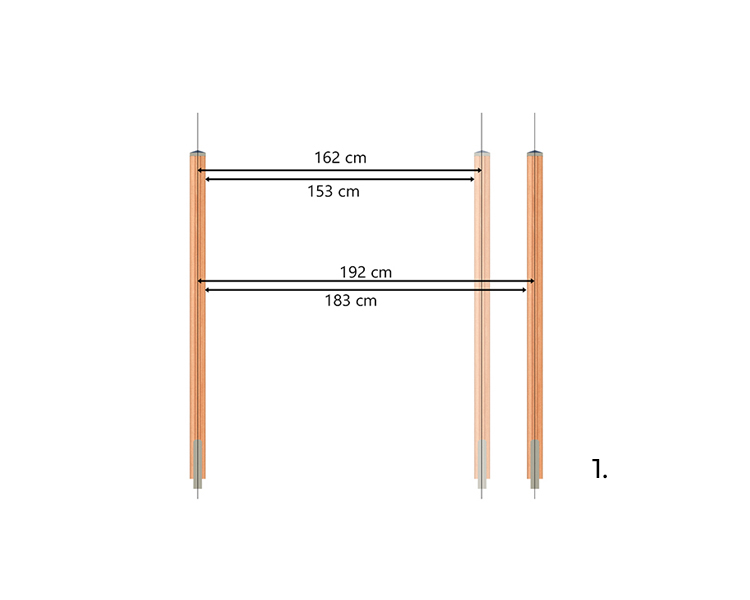
To determine distance between posts, the length of the fence boards + 3cm must be taken into account. Explanation of the 3cm : (12mm thick screw-on U-profile at the bottom of the groove + 3mm clearance) x 2).
The chosen distance must be the same at the top and bottom of the post. For 180 cm interlocking boards, a space of 183 cm is required between the posts, i.e. 192 cm centre-to-centre distance (90x90mm section post). For 150 cm interlocking boards, a space of 153 cm is required between the posts, i.e. a cebter-to-center distance of 162 cm between the posts (90x90mm section post).
Step 2 : Screw on the U-profiles
Screw the U-profiles onto the posts centrally. Use stainless steel screws. Pre-drill the U-profiles. Use clamps to hold the U-profile in the centre of the post.
Don't forget to leave enough space at the top to fix the covers (see step 4).
Adjust the bottom of the U-profile on the post to position the first fence board to level - (See step 3).

Step 3: Attach the first board
Position the first filler board (tongue up) horizontally.
Make sure to leave a space from the ground (minimum 5 cm), otherwise the wood will be permanently damp. Use a level to adjust the first board horizontally. Then fix the board to the U-profile with stainless steel screws.

Step 4 : Stacking of the boards
The other fencing boards are then inserted from above. Each plank must be screwed directly and individually to the U-profiles. Place a 4 x 40 mm screw in the middle of each side. The movement of the planks is strongly restricted. Do not forget to pre-drill each board with a 3mm diameter drill bit.
If the boards’ width is 145 mm or more, push the boards together as far as they will go, i.e. up to the abutment between tongue and groove.
If the boards’ width is less than 145mm, subsequent expansion must be taken into account and the boards must not be fully interlocked, thereby leaving an "air gap" between the tongue and groove. Example: A width of 142 mm therefore means 145 - 142 mm = 3 mm additional "clearance". The tongue-and-groove joint should not be fully engaged and a gap of approximately 3 mm should remain. This leaves room for further expansion. This method can also be used to determine installation distances if "new boards" are to be retrofitted into the existing fence.

Step 5: Finishing the fence
For the finishing touch, use the coverings (only available for interlocking fence boards with a length of 180 cm).
The tongue of the last board must be sawn off according to diagram no. 5: The board must protrude 15 mm from the U-profile. The cover is placed on the last board. It must be cut to size. It is then screwed onto the U-profiles at an angle from above.
The components of TRADITION panels
for a sustainable and natural fence
-
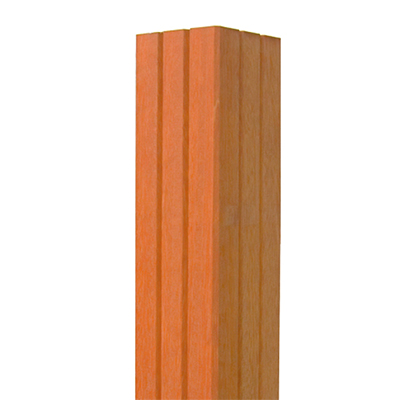 Post 90x90 mmPost in Bangkirai. Section: 90x90 mm. Length: 3m. Grooved on all 4 sides.
 -
 U-profileProfile in Keruing. Section: 35x45mm grooved 22mm. Length: 2m.
 -
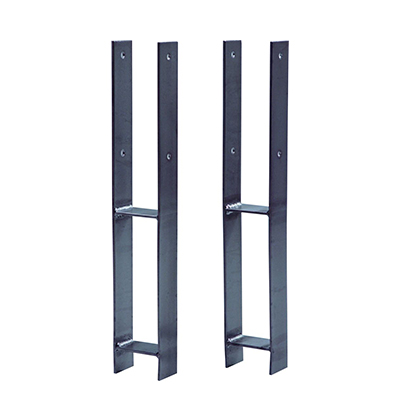 H-anchor in stainless steelAnchor to anchor post 90x90 mm. Stainless steel
 -
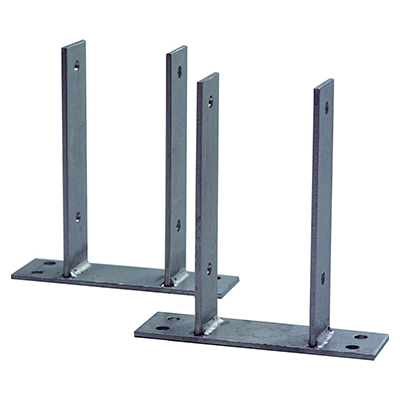 Fixing plate in stainless steelFixing plate for post 90x90 mm Stainless steel
 -
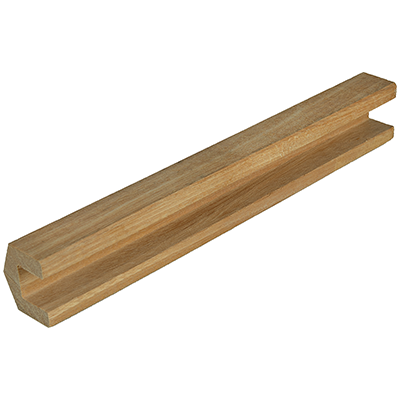 CoverSection: 65x45mm. Length: 180 cm. Wood type: Keruing.
 -
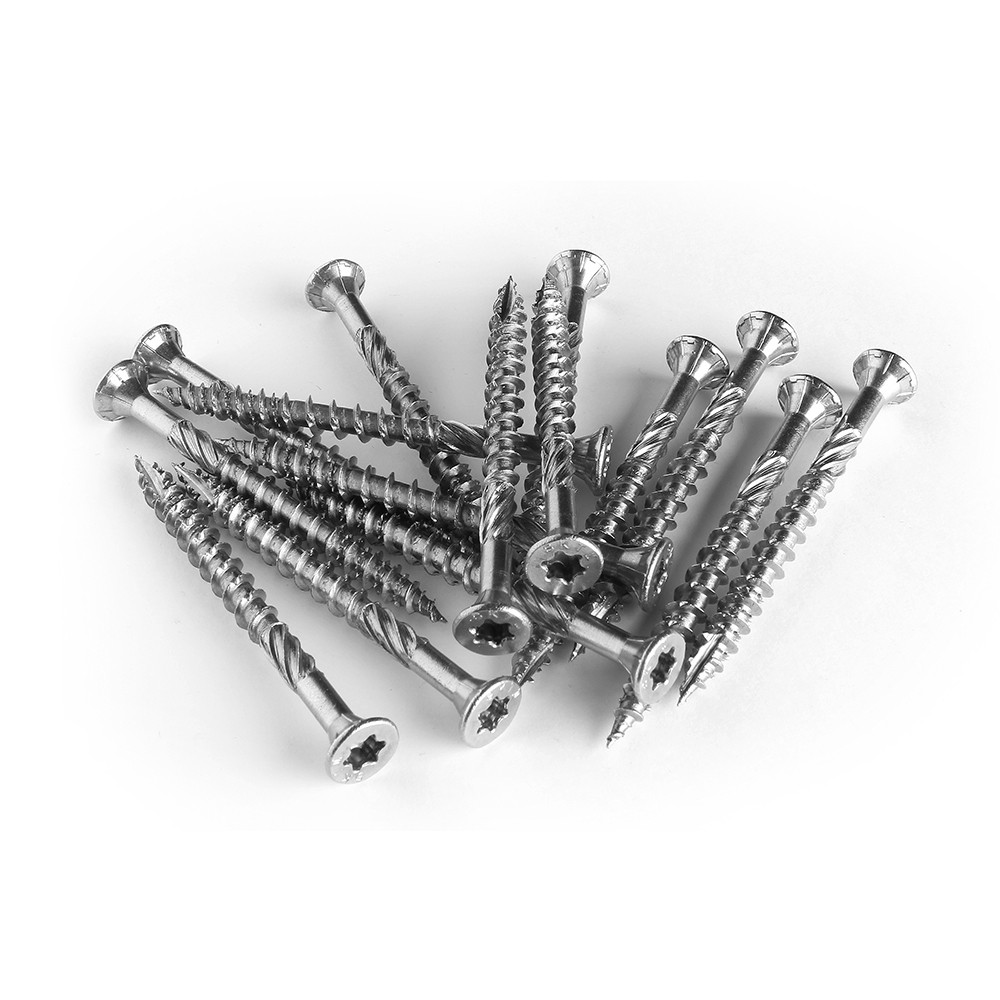 Stainless steel screws5x50mm
 -
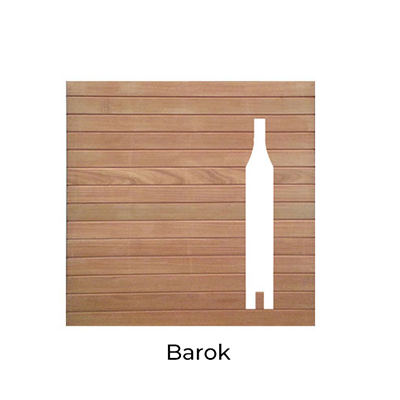 Barok boardSection: 21x 145mm (135 useful). Length: 180mm. Essence: Bangkirai and Keruing.
 -
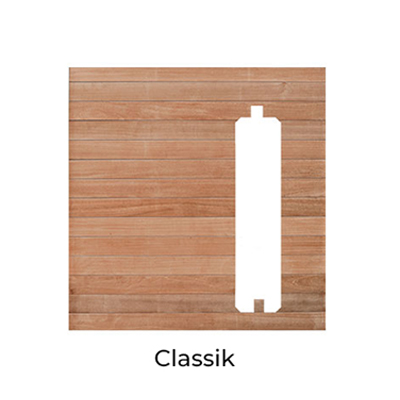 Classik boardSection: 21x 145mm (135 useful). Length: 180mm. Essence: Bangkirai and Keruin
