fr
fr nl
nl de
de- Home
- Wood Fencing
- Tropical Hardwood slated panels MODERN
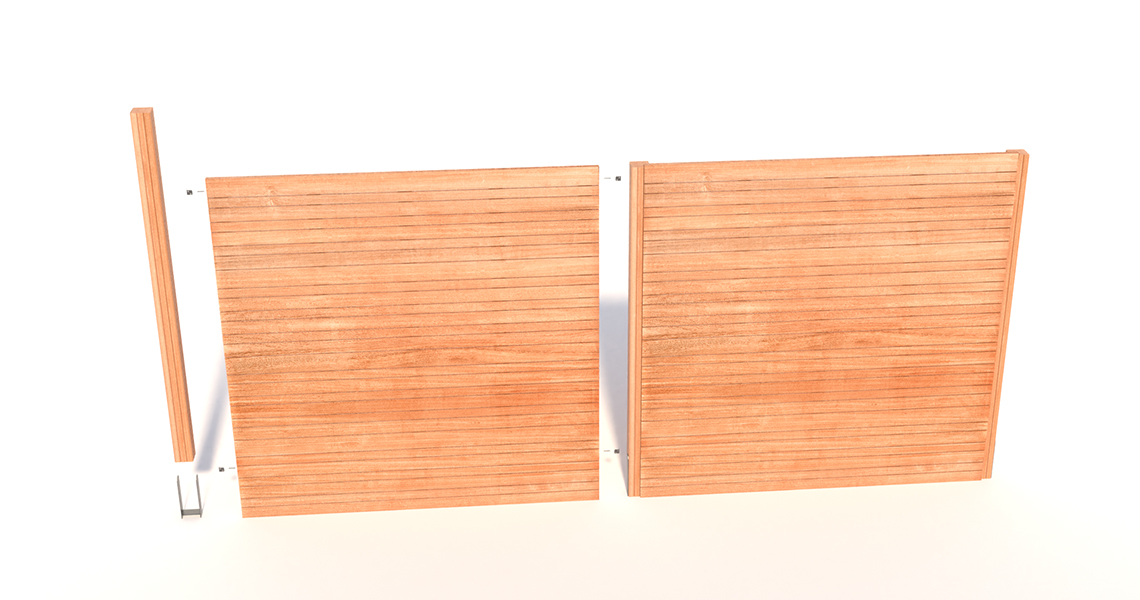
Tropical Hardwood slated panels MODERN
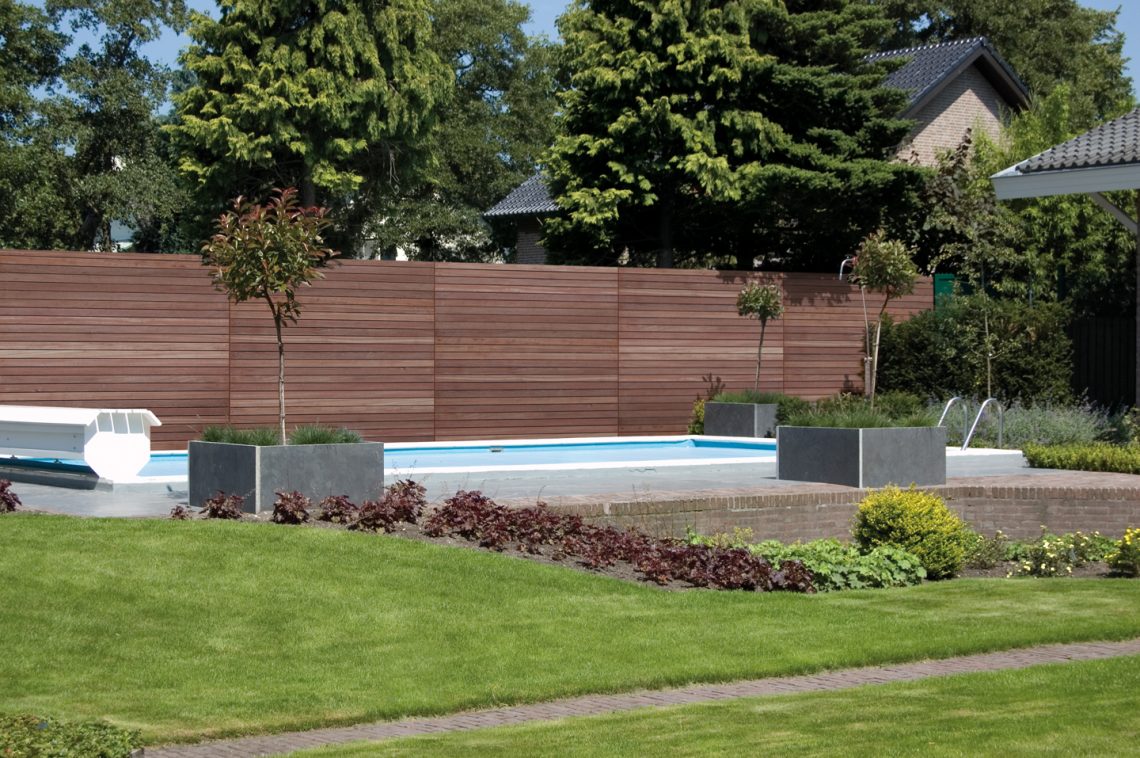
Natural and trendy screens to create a garden wall


- Thin horizontal laths
- Variable board width
- Invisible posts
- Invisible stainless steel screws
- Naturally rot-proof wood
- Sturdy panels with a contemporary design
- Rot-proof and FSC-certified wood
- Blackout and openwork fence
- Quick and easy to install
A concept of openwork and occulting fencing
with contemporary design
Choose a MODERN panel model
Regular, straight or rhombus-shaped horizontal boards
Create your fence
Combine the panels on an almost invisible post
Characteristics of MODERN fencing in Keruing
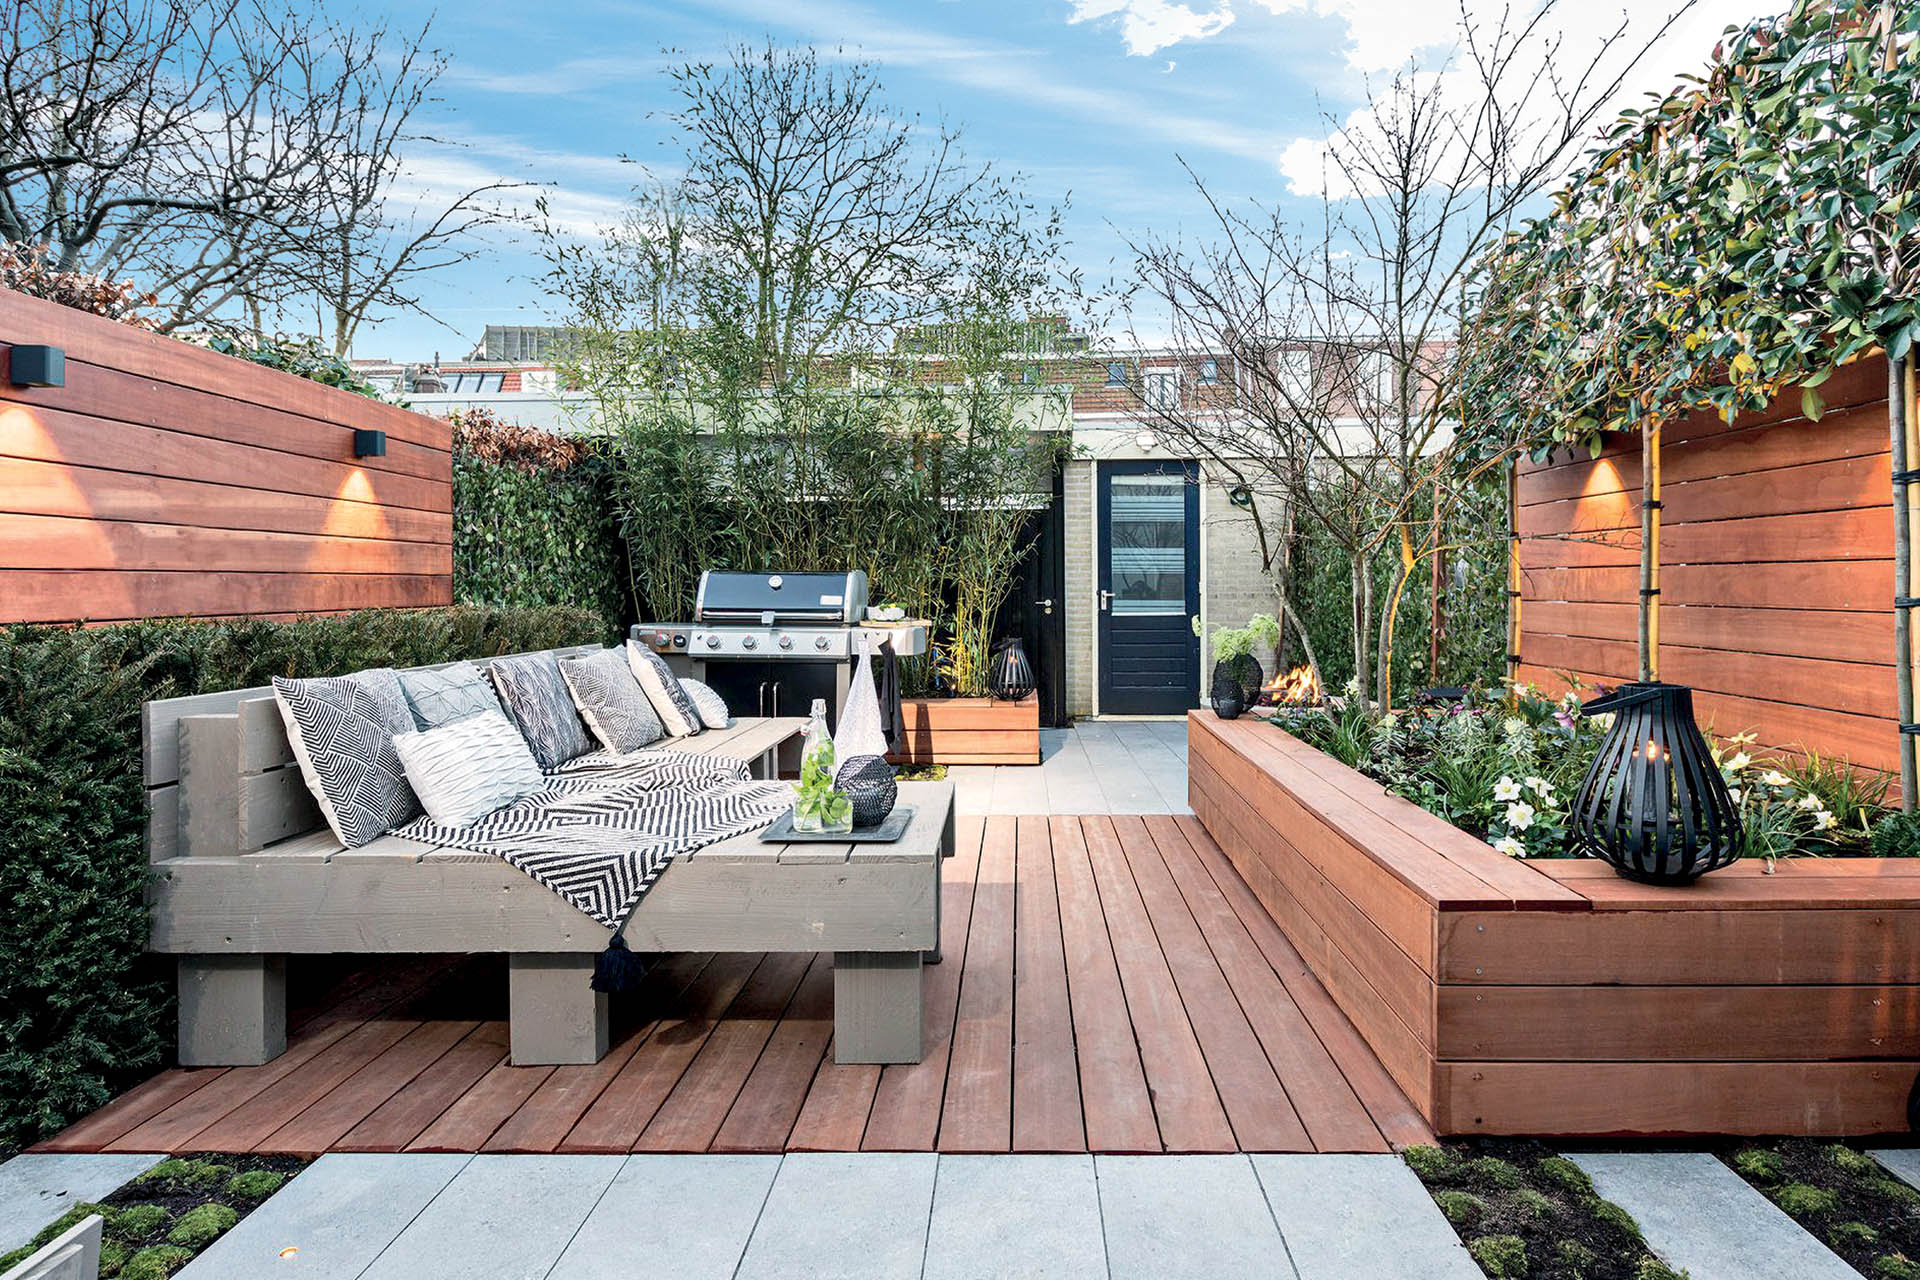
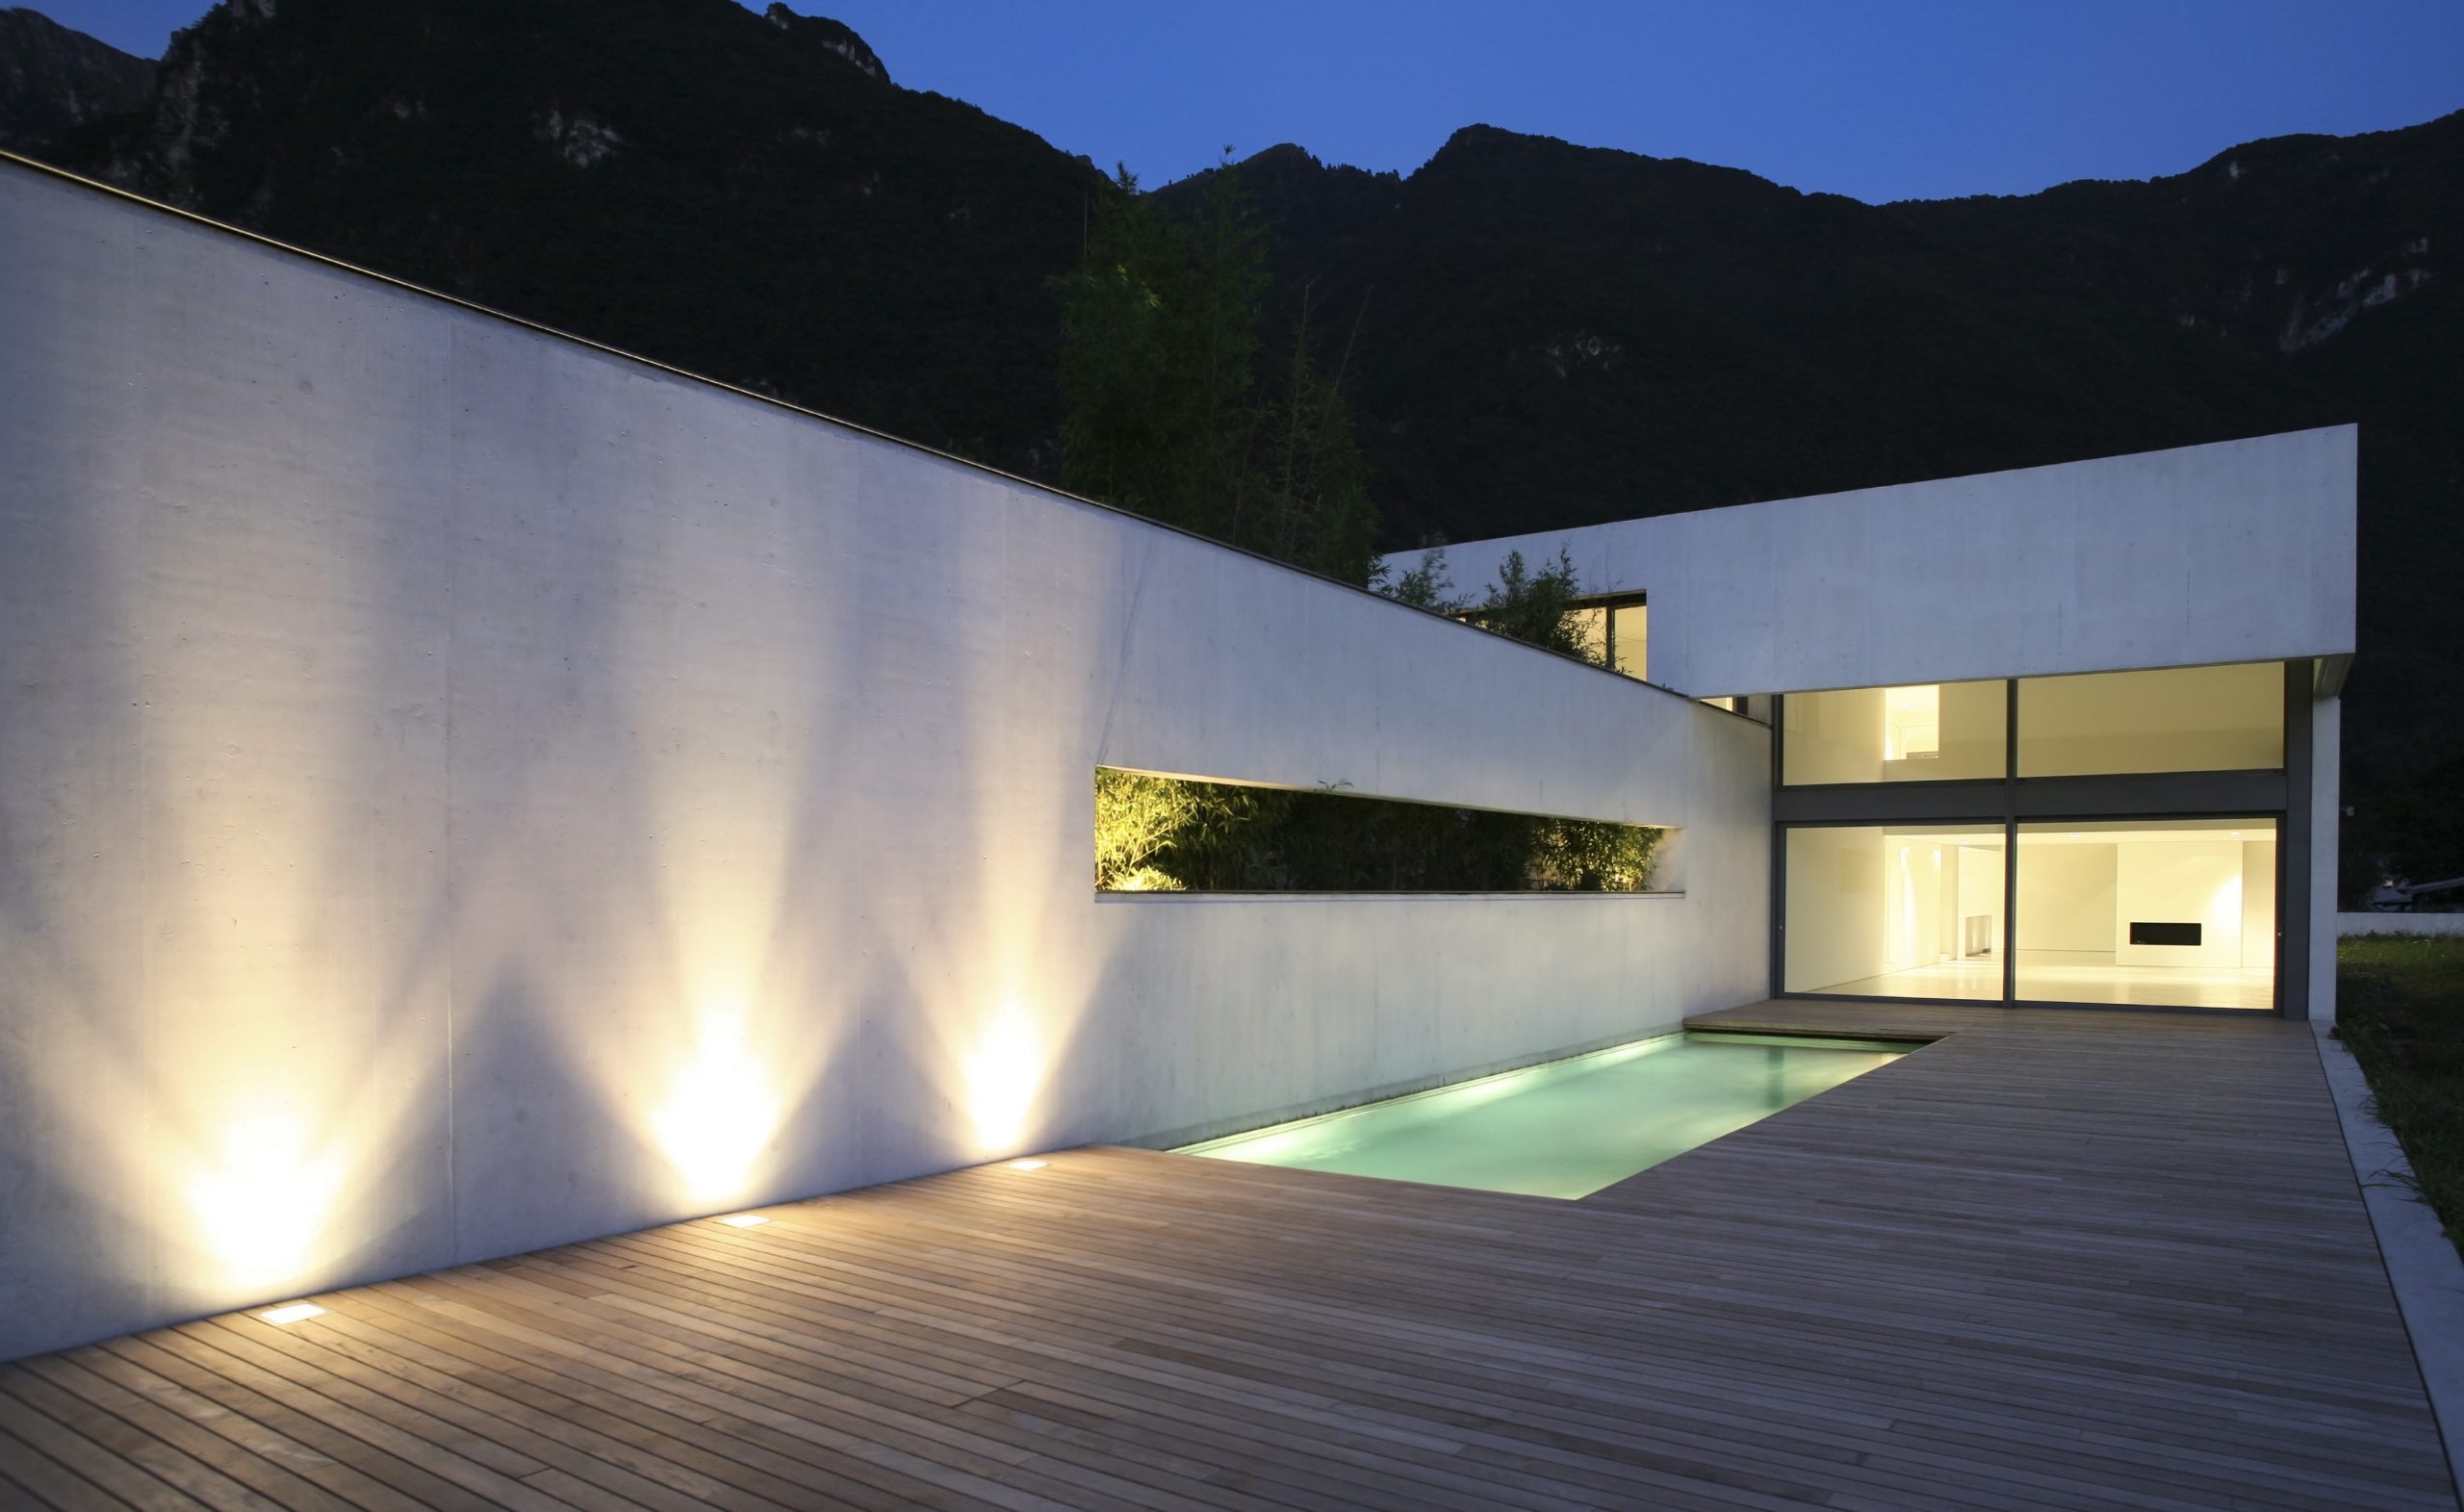
A blackout garden wall with a contemporary design
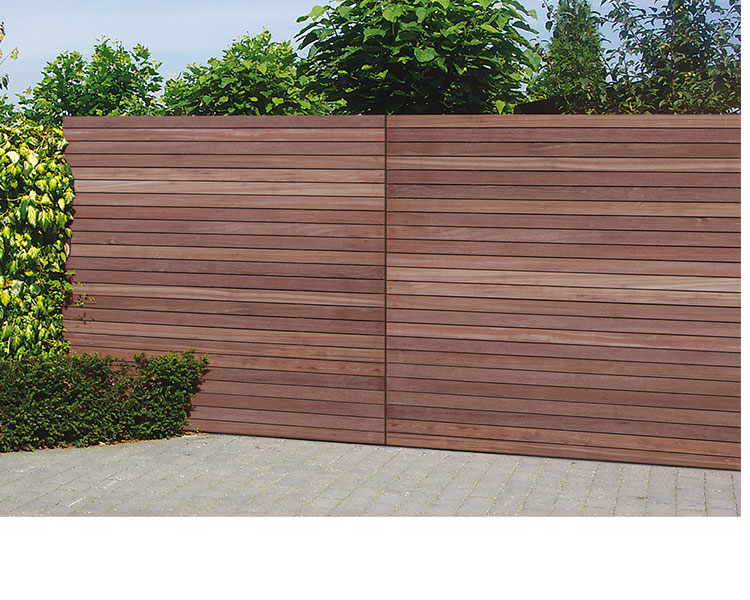
MODERN panels are made of thin Keruing FSC strips of varying widths, according to the models.
They are 3 models available, all with the same 180x180cm format, but with a combination of either rectangular or rhombus slats of variable widths.
The MODERN panel offers a contemporary style with post covers, to offer a pure and continuous line of wooden slats. You delineate your garden with a continuous wall effect.
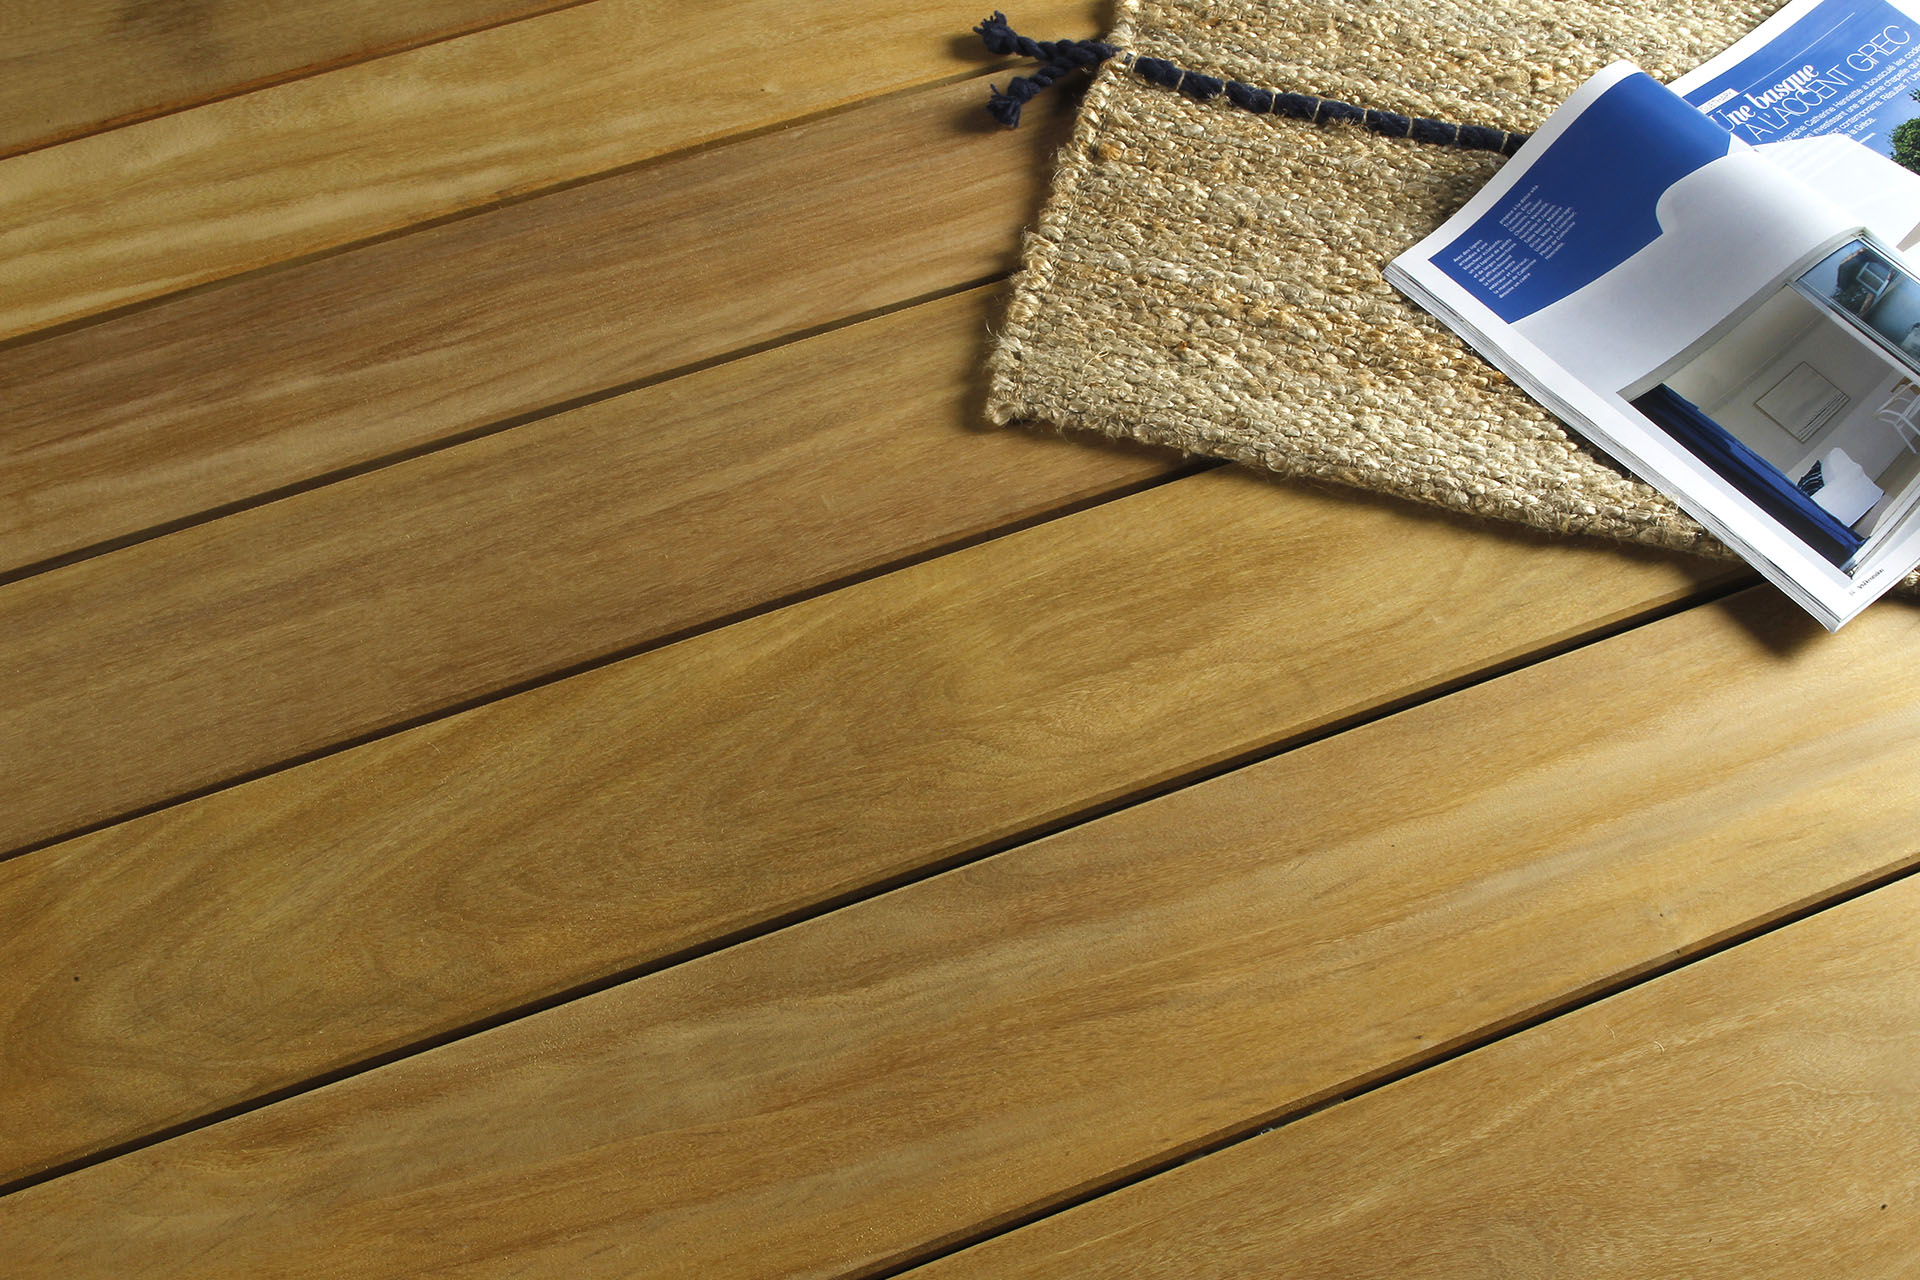
The stabilised, reddish-brown Keruing slats will acquire a patina over time to blend in with your vegetation in a natural setting.
These garden screens are both aesthetic and decorative and can be used to delineate a property or a garden and thus preserve your privacy, away from the eyes of the neighbourhood.
Doors with their hardware are offered as an option for each model.
Installation of MODERN garden panels
Attaching any type of panel must be carried out by a solid anchorage to the ground. There are two possibilities for this:
- Bury the post directly in the ground. 1/3 of the length of the post must be buried in the ground.
- Sealing stainless steel anchors in concrete to fix the post.
We explain the first possibility: sealing the post directly into the ground, then we describe the installation with sealing on a stainless-steel anchor.
Caution: Our garden fences are always 180 cm high.
Sealing the posts into the ground
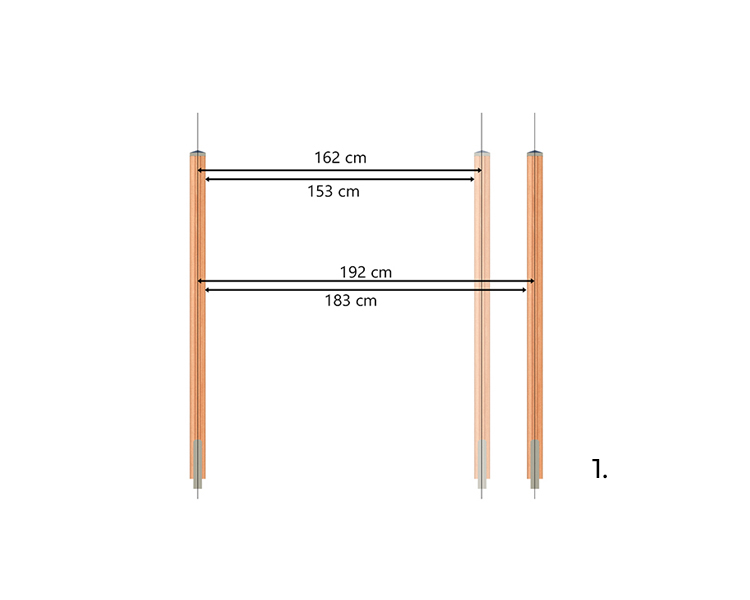
Step 1
First dig a hole of sufficient circumference (preferably 40x40 cm) and 80 cm deep.
Ensure that there is sufficient space between the posts (1 to 2 cm). With a screen width of 180 cm, 182 cm of internal space between the posts is required.
Step 2
First, install the post and secure it with a set of cleats forming a tripod. Then fill the hole with soil so that the post stays firmly in place. For more stability, add concrete.
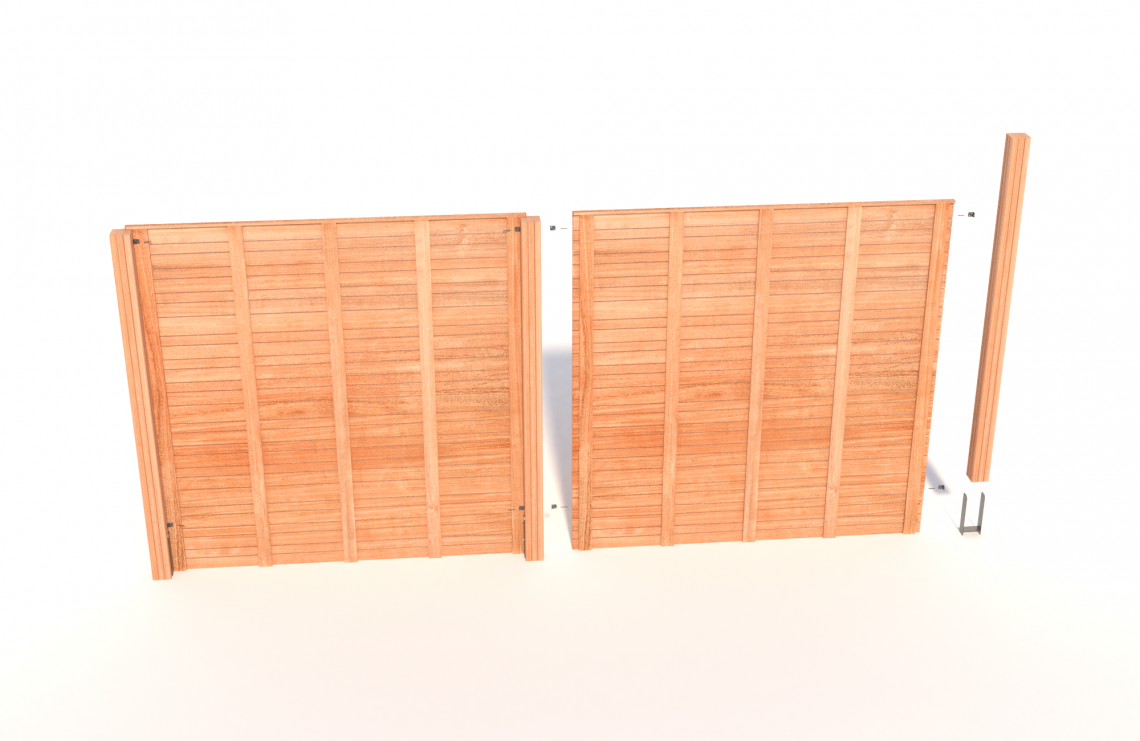
Fitting and installation of the panels
Step 3
Drill the holes on the 6mm diameter posts for the L-connections and screw them in place.
Step 4
Now pull up the screen to the L-connector level. If possible, leave at least 7 cm below the screen to avoid problems with rising damp.
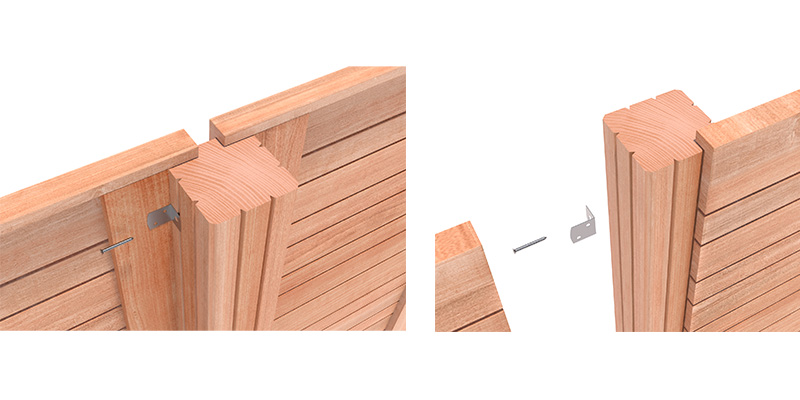
Detail of MODERN panel attachment
FelixWood gates come with a matching hardware kit.
Use a lath as a "gauge" to ensure even spacing between posts. Next, secure the door with clamps to keep both hands free for assembly.
You must pre-drill all holes.
For a 5 mm screw we recommend a 4 mm drill bit, for a 4.5 mm screw a 3 mm
drill bit. The holes for the adjustment bolts must be drilled with an 8 mm drill bit.
In order to ease up installation of the lock and the panel, we recommend inserting the cylinder lock into the housing before installation.
To reduce deformation risk, the stop bar supplied with the gate, or a reinforcing bar, should be mounted at the top and bottom of the post on the lock side.
Components of MODERN panels
-
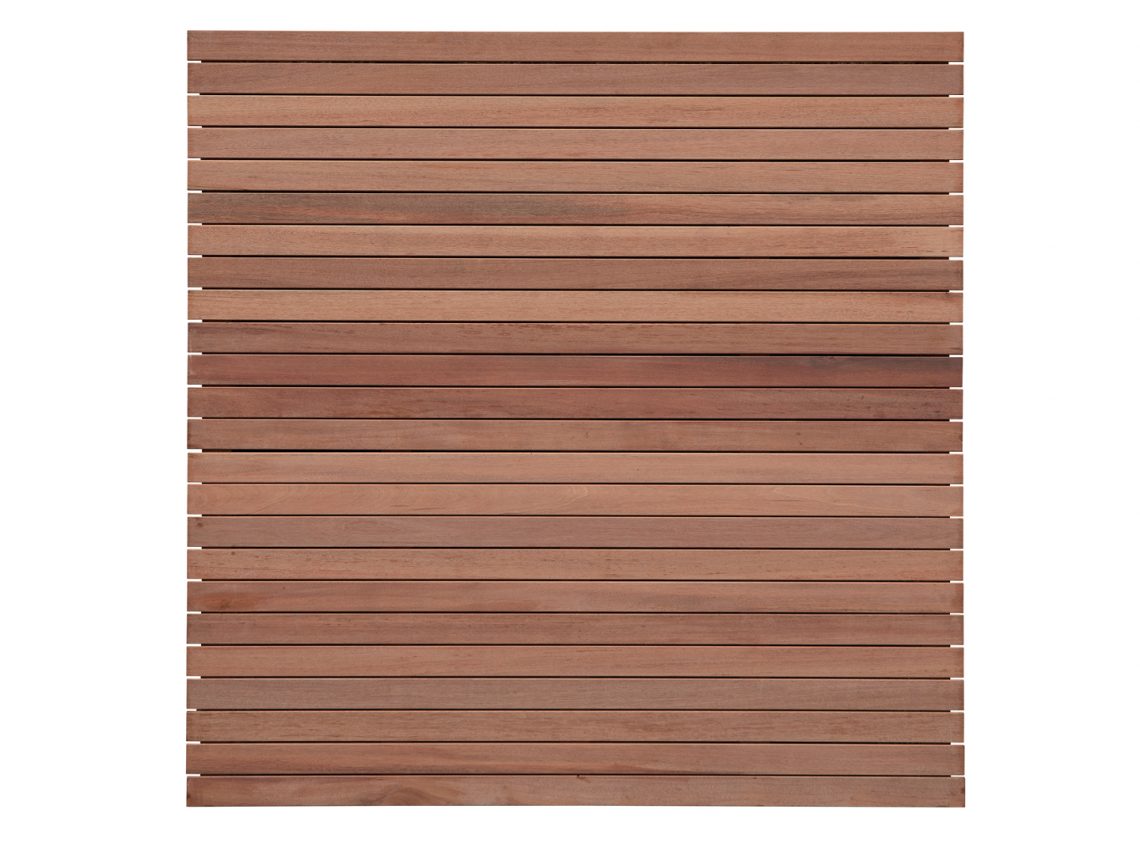
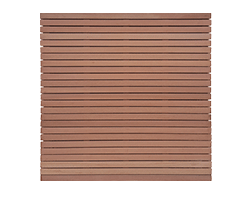
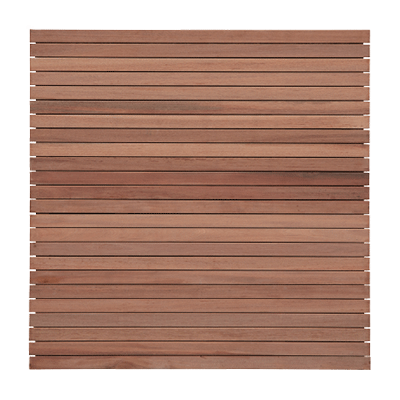 Panel MODERN 50Panel dimensions: 180x180 cm. Boards : 15x70 mm.
 -
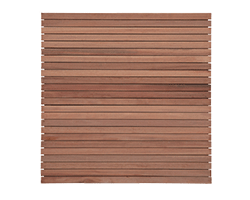
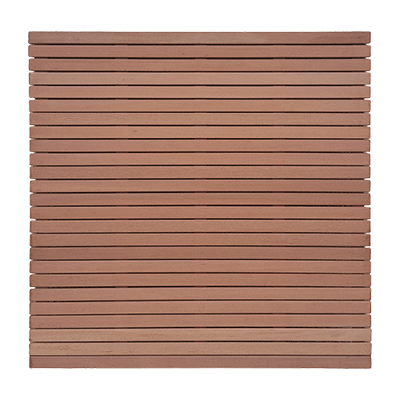 Panel MODERN 51Panel dimensions: 180x180 cm. Rhombus boards : 13x65 mm
 -
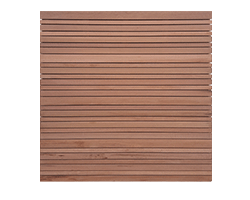
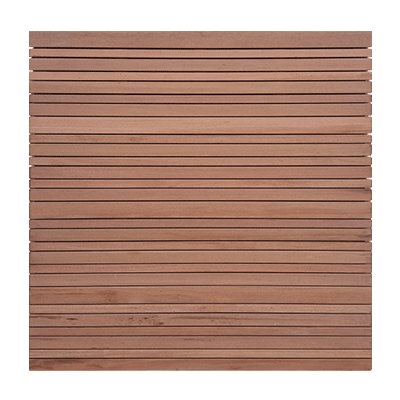 Panel MODERN 52Panel dimensions: 180x180 cm. Rhombus boards: 13x44 mm, 13x65mm, 13x90mm.
 -
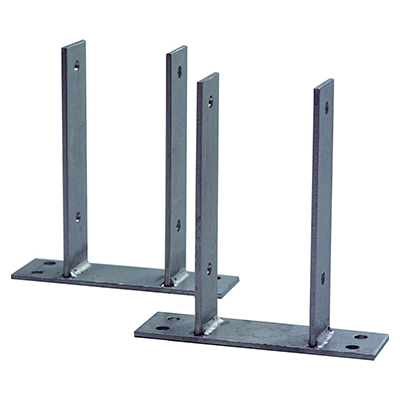 Attachment plate in stainless steelAttachment plate for post 90x90 mm
 -
 Stainless-steel H-anchorSealable anchor post 90x90 mm
 -
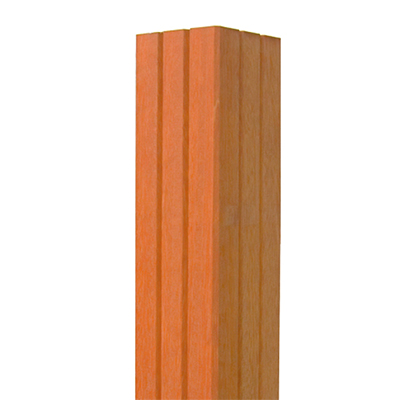 Post 90x90 mmPost in Bangkirai Section: 90x90 mm. Length: 3m. Grooved on all 4 sides.
 -
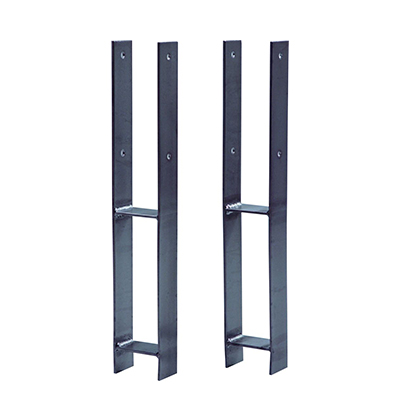
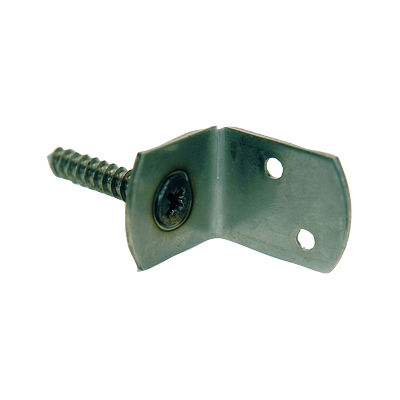 L-shaped mounting bracketSet of 4 stainless steel brackets 40x35mm Thickness 2mm Screw diameter: 8mm / length: 40mm 8 stainless steel screws 4x25 mm.
 -
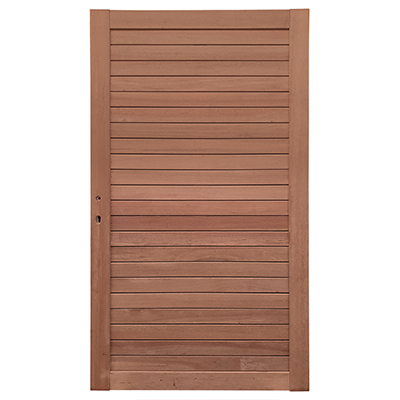 Gate 25 MODERN100x180cm Thickness: 45mm Pre-drilled for lock.
 -
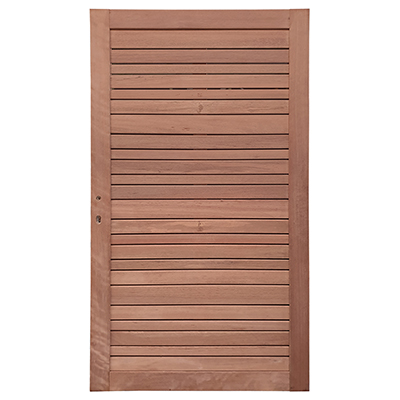 Gate 26 MODERN100x180cm Thickness: 45mm Pre-drilled for lock.
 -
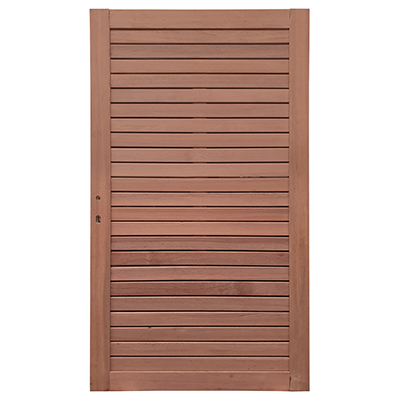 Gate 27 MODERN100x180cm Thickness : 45mm. Pre-drilled for lock
 -
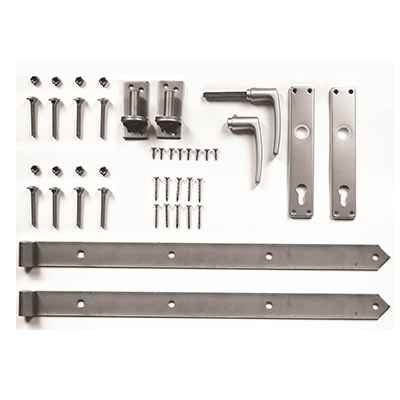 Hardware Kit for the GateAll inclusive