fr
fr nl
nl de
de- Home
- Fasteners and tools
- BFIX deck fastening clip
BFIX deck fastening clip
A concealed fastener for exotic wood


- Neat finish, invisible clips
- Quick and easy assembly: 40% of time saved
- Respects wood expansion
- Self-drilling screws in reinforced stainless steel
- Possibility of local dismantling
- Patented fastening system
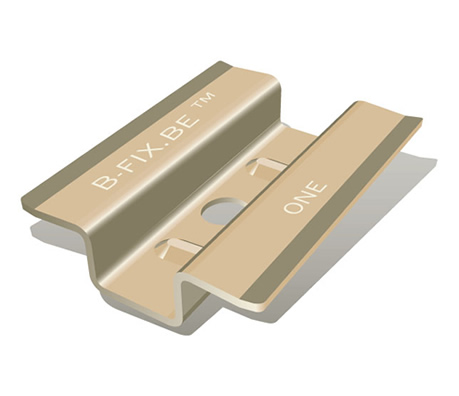
The B-Fix fastening clip concept
The B-Fix clip is a stainless steel 301 fastener that provides effective support and stability for your decking boards against joists.
Easy to install and saves time
Thanks to this innovative system, installation of your terrace boards is easier and quicker. This fastening system reduces installation time by 40%. Only one screw is needed to attach the B-Fix clip. These screws are self-drilling, so only one end cap is needed to attach the clips (supplied with the clips and screws).
Installing the B-Fix clip
Features
Screw: Stainless steel A2 + grey coating
Screw: 5 x 35 mm (width x height)
100 self-drilling screws
1 Torx end cap
1 mounting plane
Attaching the boards with the B-Fix clip
This fastening system is compatible with Ipe, Garapa and Afrikulu/Mukulungu boards. To install your terrace with B-Fix clips, follow these 4 steps:
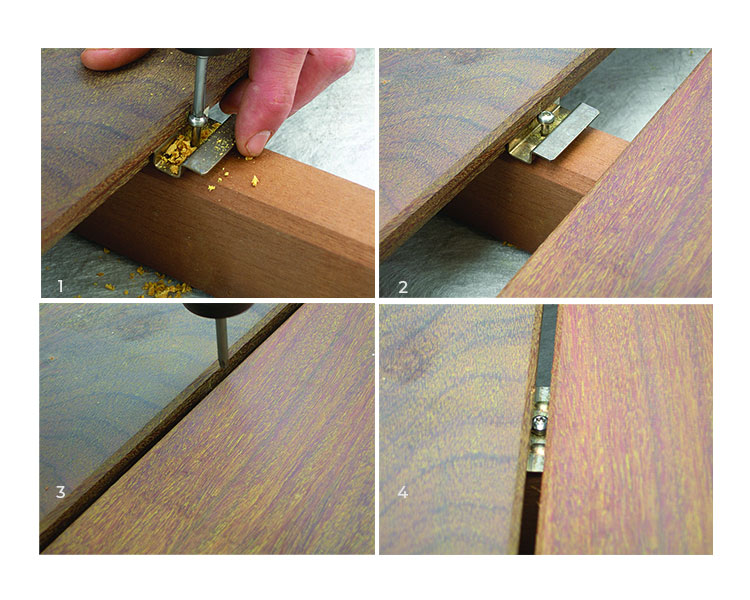
Step 1: Align the first deck board at the end of the structure and then attach it. Slide the clip over the joist to insert a wing into the groove of the board profile.
Step 2: Then screw the self-drilling screw into the clip hole up to half the height of the groove. Do not screw it in completely to be able to slide the other board into the second wing of the clip.
Step 3: Fully slide a second board and insert it into the second wing of the clip. Make sure that the boards are properly aligned.
Step 4: Tighten the clip screw to the full.

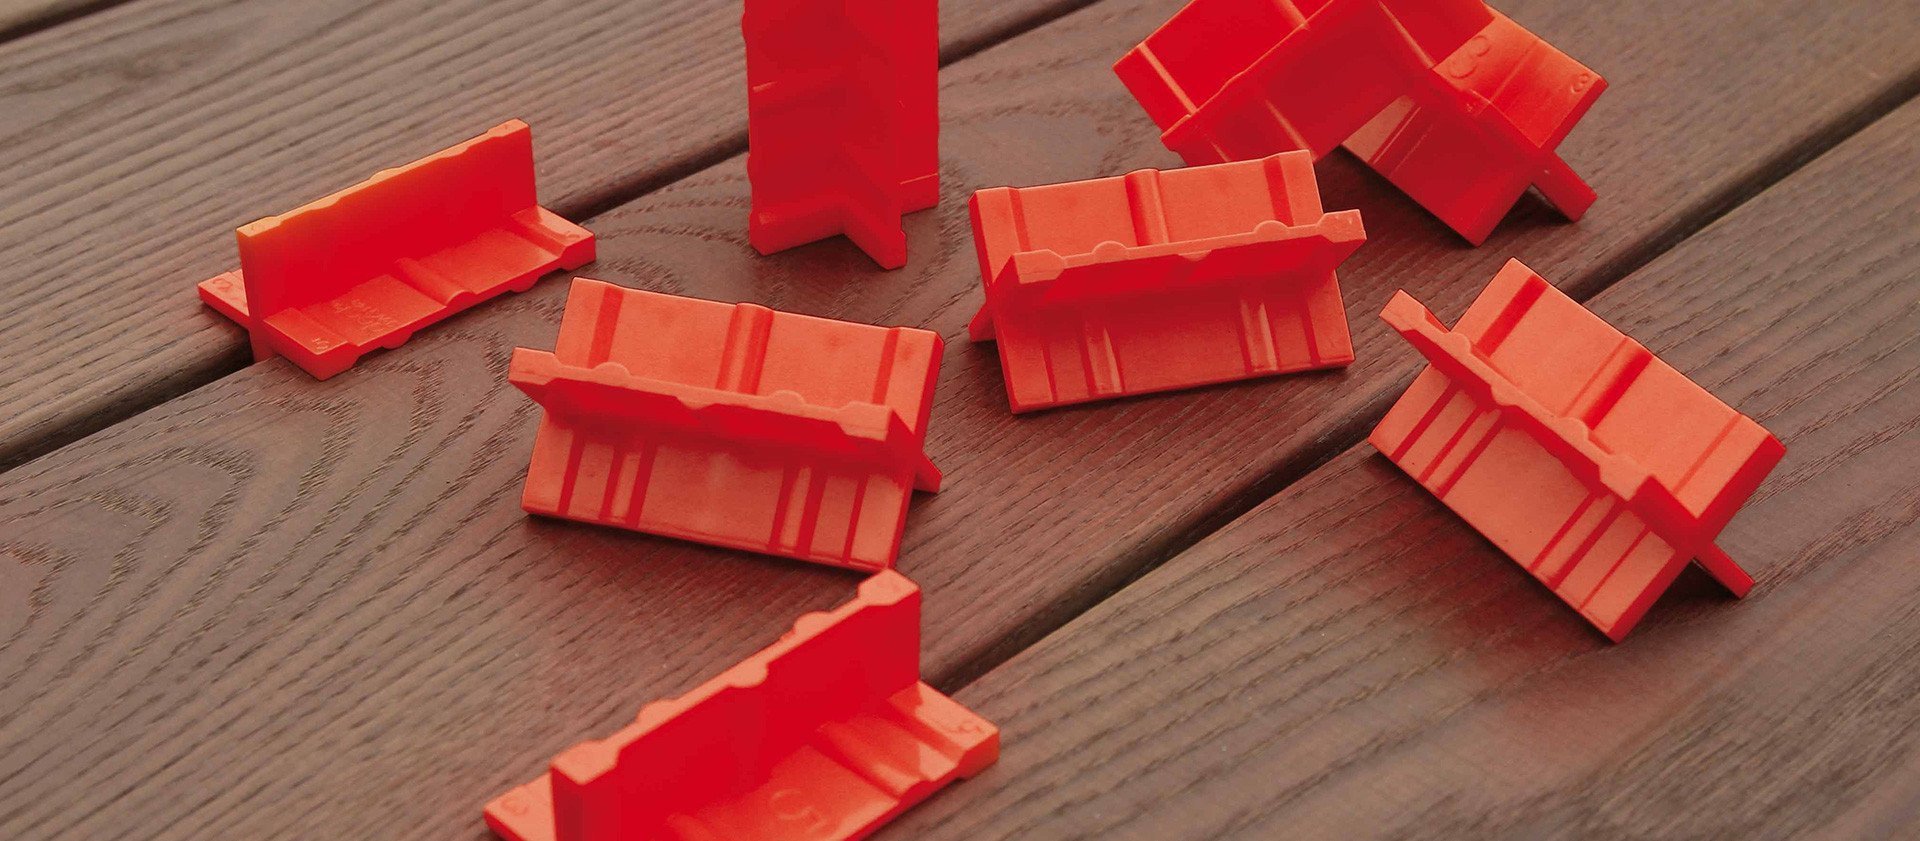
Beginning and end of laying
Suitable start/finish clips are available for starting and finishing the installation of the terrace.
The joists must be precisely aligned below the groove of the
board for the start/finish clip to work properly and form a strong bond.
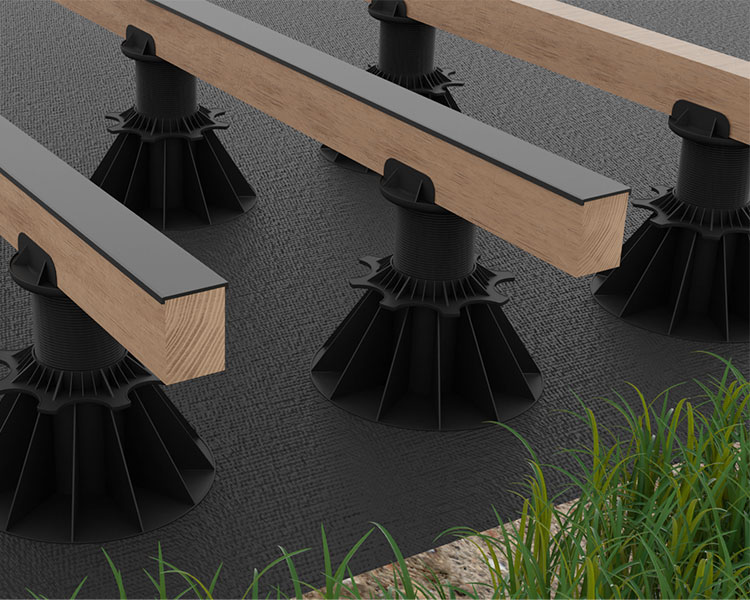
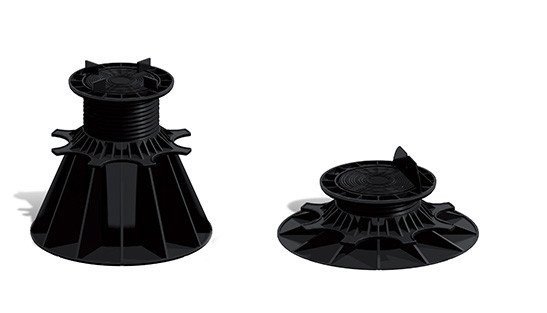
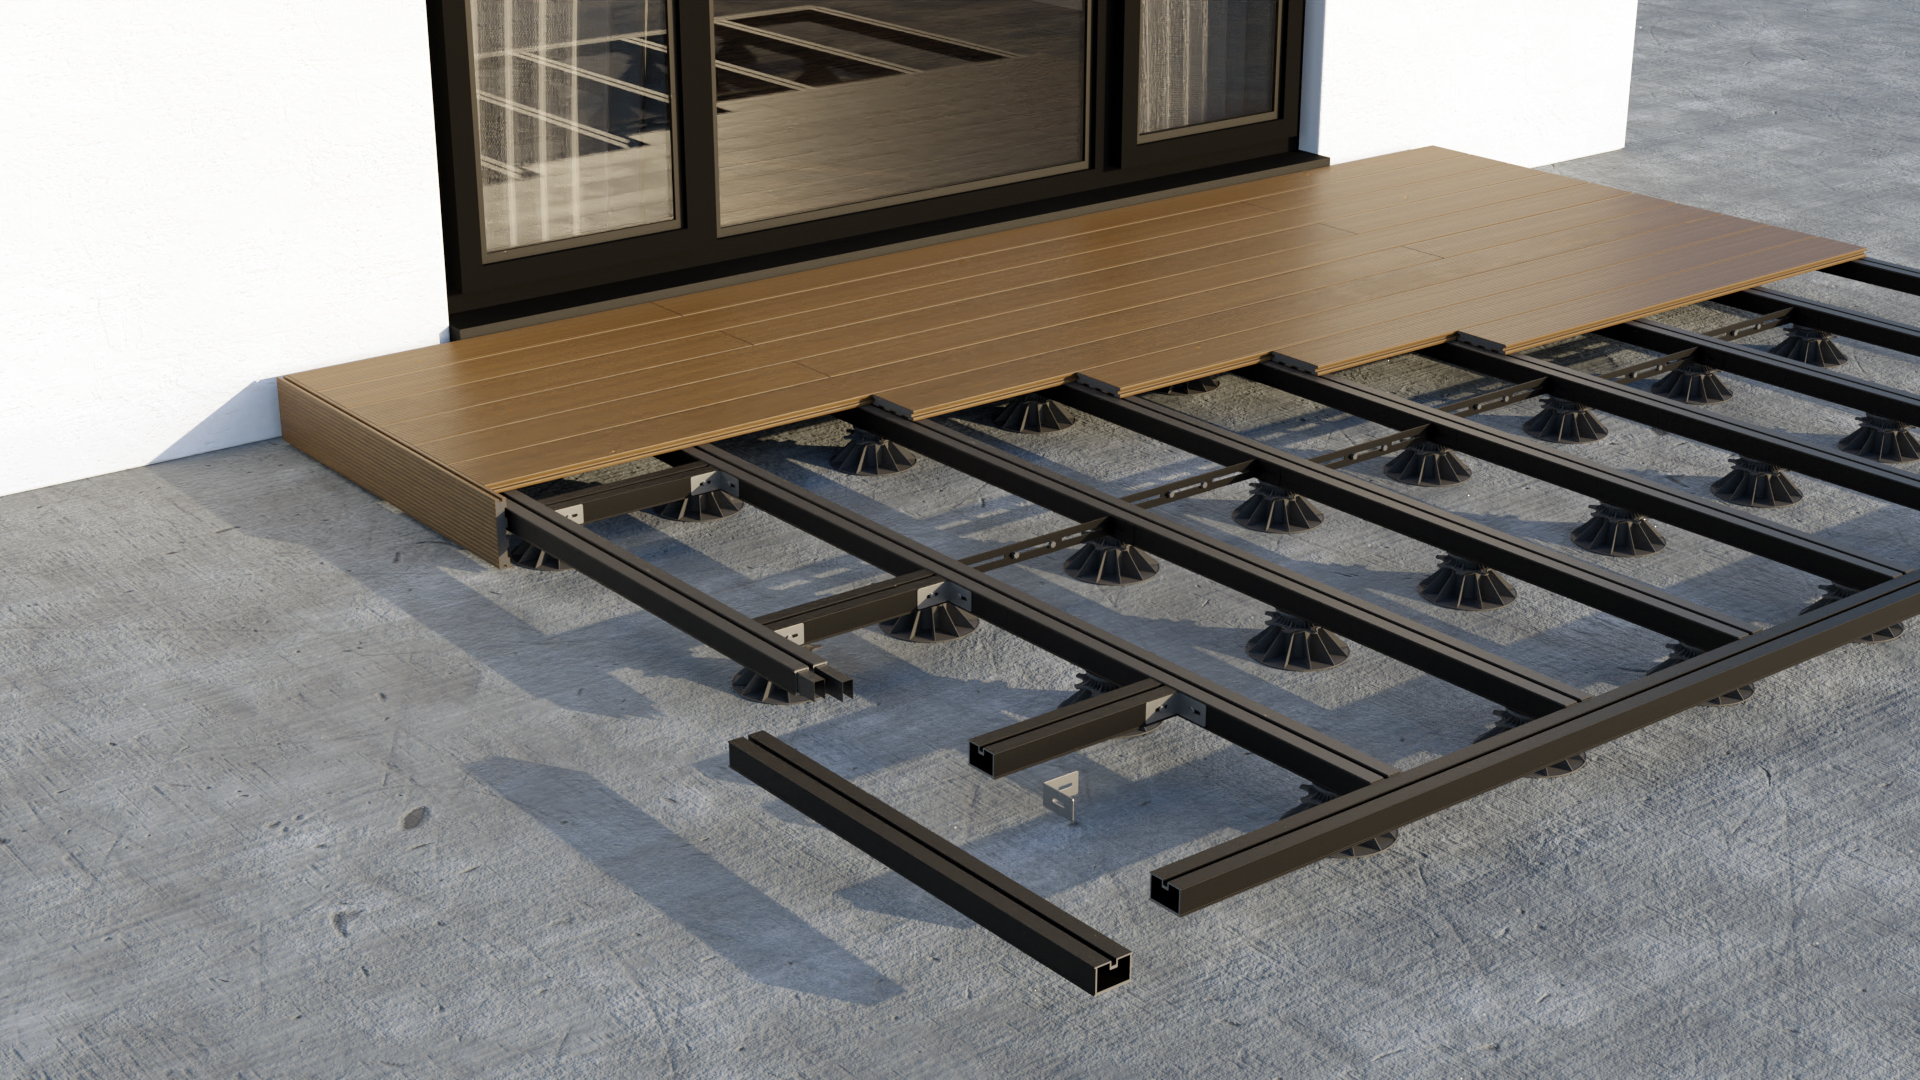
Installation of the joists
Allow a maximum centre to centre distance of 40 cm between joists.
The joists must be laid with a slope of 2% in the longitudinal direction of the boards to allow rainwater to run off. This 2% slope must be strictly observed!
Water, too, must be able to flow under the structure. The joists must be supported on rubber blocks or studs.
Protect your joists and increase their lifespan: Use the Bitudeck bitumen strip to cover the joists and prevent water infiltration at the fastening points.
For installation on aluminium joists, special screws are required.